概要:
このページは、Keycloakのキャッシュを外部のInfinispanに保持させる設定が動いたので、それをまとめたものです。
DockerでKeycloakとInfinispanサーバを立てて、Keycloakのsessionsキャッシュをリモートストアに設定し、
Infinispanサーバにキャッシュが生成されるところまでを確認する方法を紹介します。
前提として、Docker Desktopがインストール済みである必要があります。
環境情報:
- Docker Desktop バージョン4.21.1
- OS:Mac(Apple M1) 13.4
目次:
- リモートストアの設定について
- 手順
- docker-compose.ymlの作成
- Keycloakのキャッシュの設定ファイルの編集
- Dockerコンテナの起動
- Infinispanでキャッシュの作成
- 動作確認
リモートストアの設定について:
Keycloakは内蔵のInfinispanでキャッシュを保持しています。
Keycloakのキャッシュの設定を変更することで、外部にあるInfinispanにキャッシュを保持させることができます。
Keycloakのキャッシュの設定は、デフォルトではcache-ispn.xmlで設定されています。cache-ispn.xmlには、remote-storeの要素があります。
この要素を設定に追加することで、リモートストアとして指定できます。
手順:
- docker-compose.ymlの作成
- Keycloakのキャッシュの設定ファイルの編集
- Dockerコンテナの起動
- Infinispanでキャッシュの作成
- 動作確認
docker-compose.ymlの作成:
KeycloakとInfinispanサーバを構築するためのdocker-compose.ymlを作成します。
KeycloakとInfinispanサーバは以下のバージョンを使用します。
- Keycloak バージョン22.0.5
- infinispan-server バージョン14.0
- 作業するための
remote_storeディレクトリを作成します。mkdir remote_storecd remote_store docker-compose.ymlファイルを作成します。
- ファイルを開きます。
vi docker-compose.yml - 以下の内容に編集します。
version: "3.7"
services:
keycloak:
    image: quay.io/keycloak/keycloak:22.0.5
    environment:
    - KEYCLOAK_ADMIN=admin
    - KEYCLOAK_ADMIN_PASSWORD=password
    ports:
    - "8080:8080"
    command:
    start --hostname-strict=false --http-enabled=true -Djboss.site.name='site1' --cache-stack=tcp --cache-config-file=cache-ispn-custom.xml
    volumes:
    - ./keycloak/conf:/opt/keycloak/conf

infinispan:
    image: infinispan-server-custom:14.0
    ports:
    - "11222:11222"
    environment:
    - USER="admin"
    - PASS="password"
以下の部分でKeycloakの起動オプションを指定しています。
command: start --hostname-strict=false --http-enabled=true -Djboss.site.name='site1' --cache-stack=tcp --cache-config-file=cache-ispn-custom.xml--cache-config-file=cache-ispn-custom.xmlで使用するキャッシュの設定のファイルの名前を指定しています。cache-ispn-custom.xmlは後ほど作成します。- ファイルを開きます。
Keycloakのキャッシュの設定ファイルの編集:
Keycloakのキャッシュの設定を変更するために設定ファイルを作成します。
- remote_storeディレクトリの下にkeycloakディレクトリを作成します。mkdir keycloak
- keycloakディレクトリの下にconfディレクトリを作成します。mkdir keycloak/conf
- confディレクトリの下に、cache-ispn-custom.xmlを作成します。
- ファイルを開きます。vi keycloak/conf/cache-ispn-custom.xml
- 以下の内容に編集します。
<?xml version="1.0" encoding="UTF-8"?>
<!--
~ Copyright 2019 Red Hat, Inc. and/or its affiliates
~ and other contributors as indicated by the @author tags.
~
~ Licensed under the Apache License, Version 2.0 (the "License");
~ you may not use this file except in compliance with the License.
~ You may obtain a copy of the License at
~
~ http://www.apache.org/licenses/LICENSE-2.0
~
~ Unless required by applicable law or agreed to in writing, software
~ distributed under the License is distributed on an "AS IS" BASIS,
~ WITHOUT WARRANTIES OR CONDITIONS OF ANY KIND, either express or implied.
~ See the License for the specific language governing permissions and
~ limitations under the License.
-->

<infinispan
        xmlns:xsi="http://www.w3.org/2001/XMLSchema-instance"
        xsi:schemaLocation="urn:infinispan:config:14.0 http://www.infinispan.org/schemas/infinispan-config-14.0.xsd"
        xmlns="urn:infinispan:config:14.0">

    <cache-container name="keycloak">
        <transport lock-timeout="60000"/>
        <local-cache name="realms" simple-cache="true">
            <encoding>
                <key media-type="application/x-java-object"/>
                <value media-type="application/x-java-object"/>
            </encoding>
            <memory max-count="10000"/>
        </local-cache>
        <local-cache name="users" simple-cache="true">
            <encoding>
                <key media-type="application/x-java-object"/>
                <value media-type="application/x-java-object"/>
            </encoding>
            <memory max-count="10000"/>
        </local-cache>

        <distributed-cache name="sessions" owners="2">
                <expiration lifespan="-1"/>
                <remote-store cache="sessions" xmlns="urn:infinispan:config:store:remote:14.0" preload="false" shared="true" segmented="false" raw-values="true">
                    <security>
                        <authentication>
                            <digest username="admin" password="password" realm="default" />
                        </authentication>
                    </security>
                    <remote-server host="infinispan" port="11222" />
                </remote-store>
        </distributed-cache>

        <distributed-cache name="authenticationSessions" owners="2">
            <expiration lifespan="-1"/>
        </distributed-cache>
        <distributed-cache name="offlineSessions" owners="2">
            <expiration lifespan="-1"/>
        </distributed-cache>
        <distributed-cache name="clientSessions" owners="2">
            <expiration lifespan="-1"/>
        </distributed-cache>
        <distributed-cache name="offlineClientSessions" owners="2">
            <expiration lifespan="-1"/>
        </distributed-cache>
        <distributed-cache name="loginFailures" owners="2">
            <expiration lifespan="-1"/>
        </distributed-cache>
        <local-cache name="authorization" simple-cache="true">
            <encoding>
                <key media-type="application/x-java-object"/>
                <value media-type="application/x-java-object"/>
            </encoding>
            <memory max-count="10000"/>
        </local-cache>
        <replicated-cache name="work">
            <expiration lifespan="-1"/>
        </replicated-cache>
        <local-cache name="keys" simple-cache="true">
            <encoding>
                <key media-type="application/x-java-object"/>
                <value media-type="application/x-java-object"/>
            </encoding>
            <expiration max-idle="3600000"/>
            <memory max-count="1000"/>
        </local-cache>
        <distributed-cache name="actionTokens" owners="2">
            <encoding>
                <key media-type="application/x-java-object"/>
                <value media-type="application/x-java-object"/>
            </encoding>
            <expiration max-idle="-1" lifespan="-1" interval="300000"/>
            <memory max-count="-1"/>
        </distributed-cache>
    </cache-container>
</infinispan>
デフォルトのキャッシュの設定からの変更点は sessionsキャッシュの部分です。
リモートストアの設定を追加しています。
- デフォルトの設定:
<distributed-cache name="sessions" owners="2">
        <expiration lifespan="-1"/>
</distributed-cache>
cache-ispn-custom.xmlの設定:
<distributed-cache name="sessions" owners="2">
        <expiration lifespan="-1"/>
        <remote-store cache="sessions" xmlns="urn:infinispan:config:store:remote:14.0" preload="false" shared="true" segmented="false" raw-values="true">
            <security>
                <authentication>
                    <digest username="admin" password="password" realm="default" />
                </authentication>
            </security>
            <remote-server host="infinispan" port="11222" />
        </remote-store>
</distributed-cache>
Dockerコンテナの起動:
Dockerコンテナを起動します。
この時点でディレクトリの構造が以下のようになっています。
- remote_store
    - docker-compose.ymlファイル
    - keycloak
        - conf
            - cache-ispn-custom.xmlファイル
- Docker Desktopが起動していることを確認します。
docker-compose.ymlファイルがあるremote_storeのディレクトリで以下を入力します。
Dockerコンテナを起動します。docker-compose up起動するとKeycloakとInfinispanサーバが立ち上がります。
以下にアクセスしてKeycloakとInfinispanが動いているかを確認します。Keycloak
http://localhost:8080/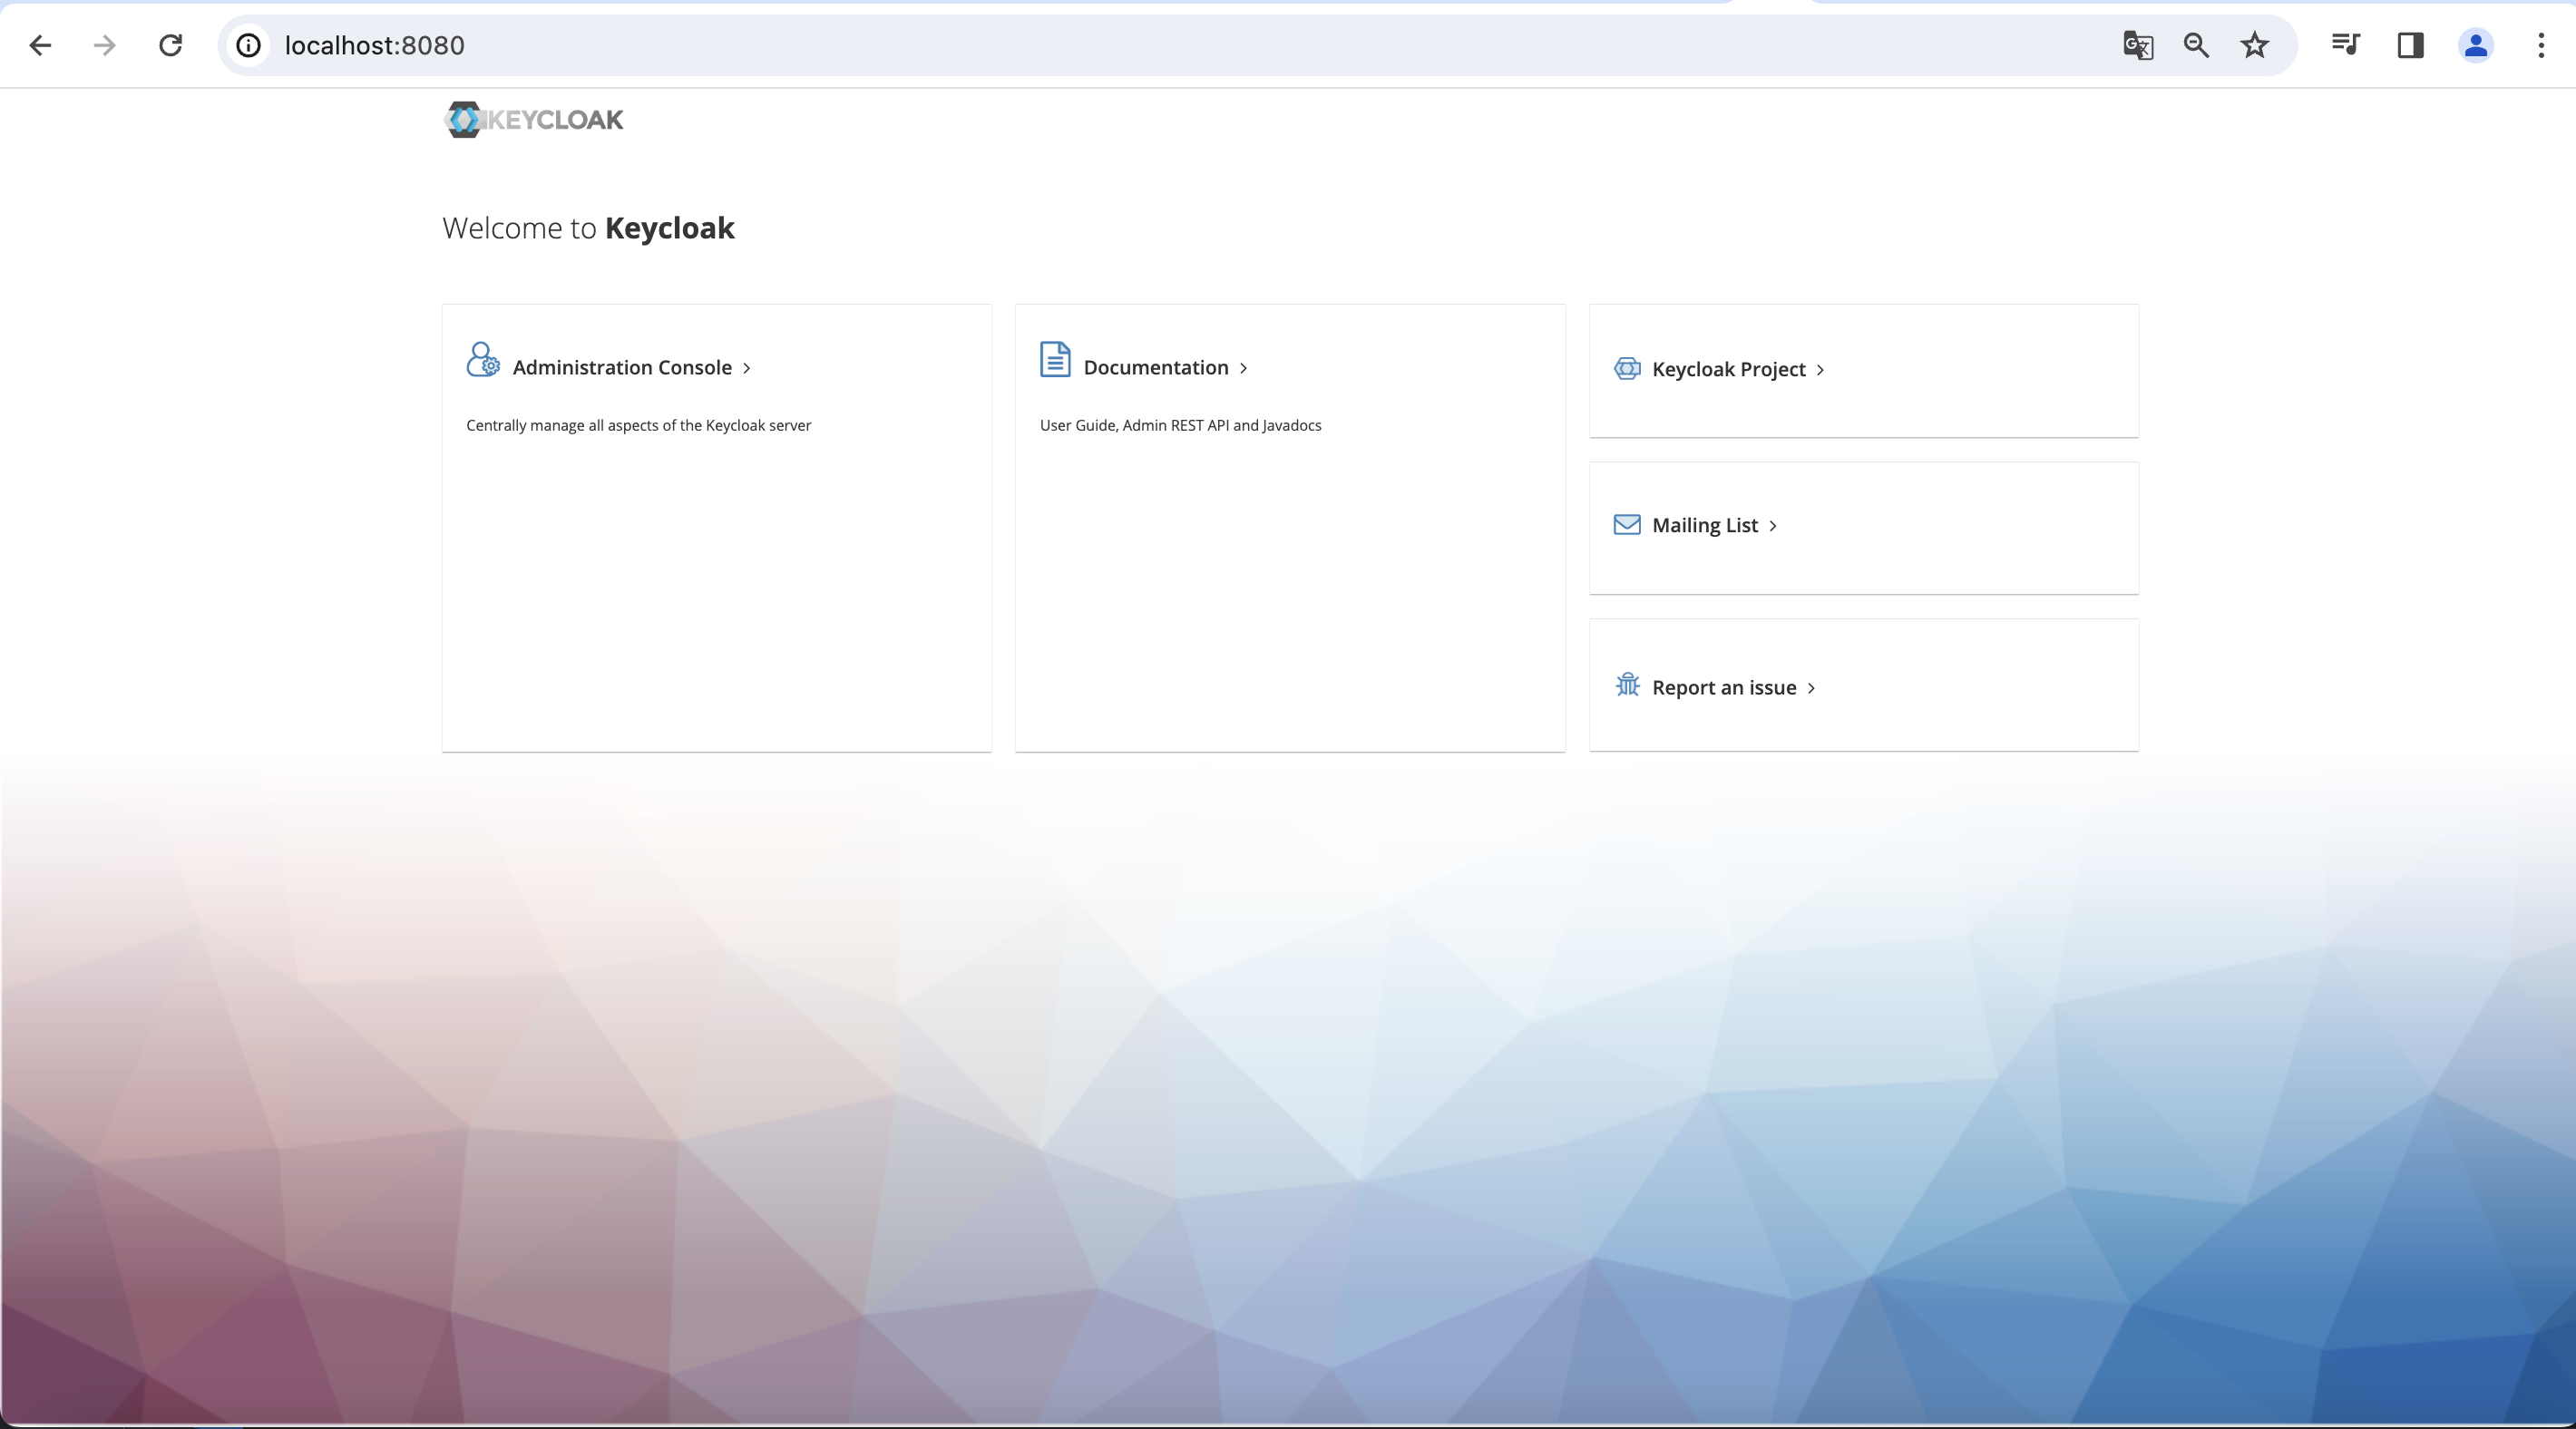
Infinispanサーバ
http://localhost:11222/
Infinispanでキャッシュを作成:
Dockerコンテナを起動できたら、Infinispanサーバでsessionsキャッシュを作成します。
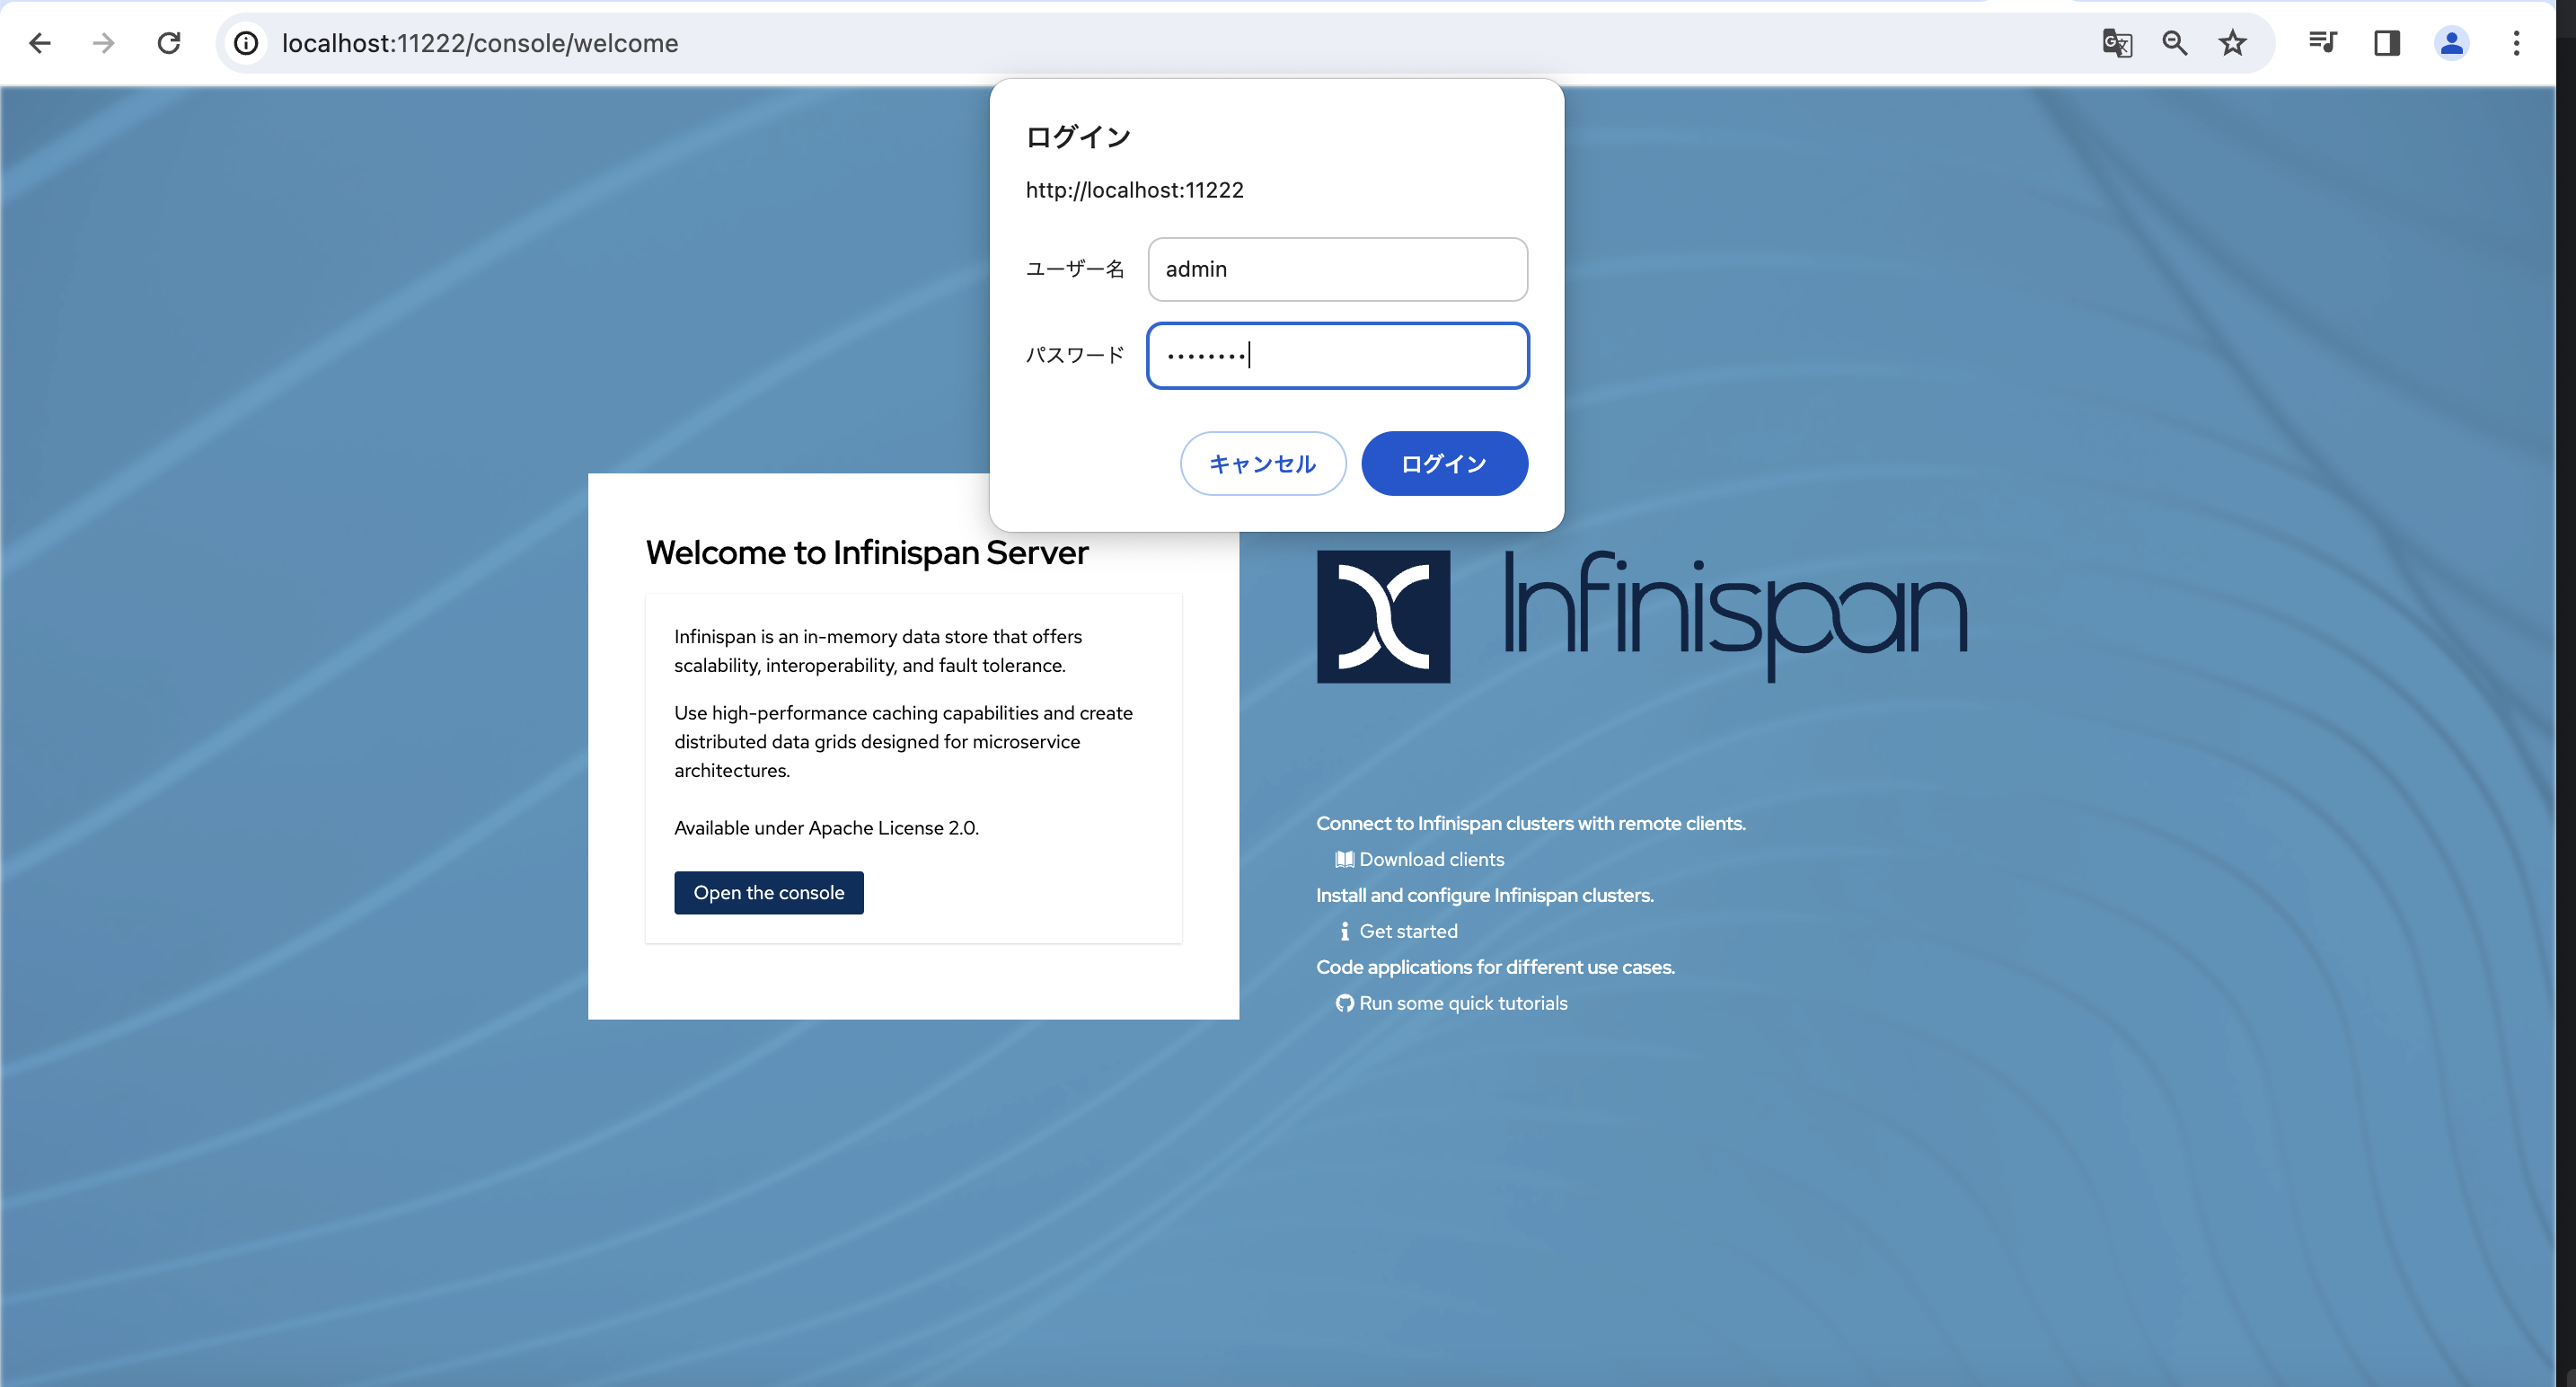
Infinispanサーバにアクセスします。
http://localhost:11222/ログインします。
IDとパスワードは以下に設定されています。- ユーザID:admin
- パスワード:password
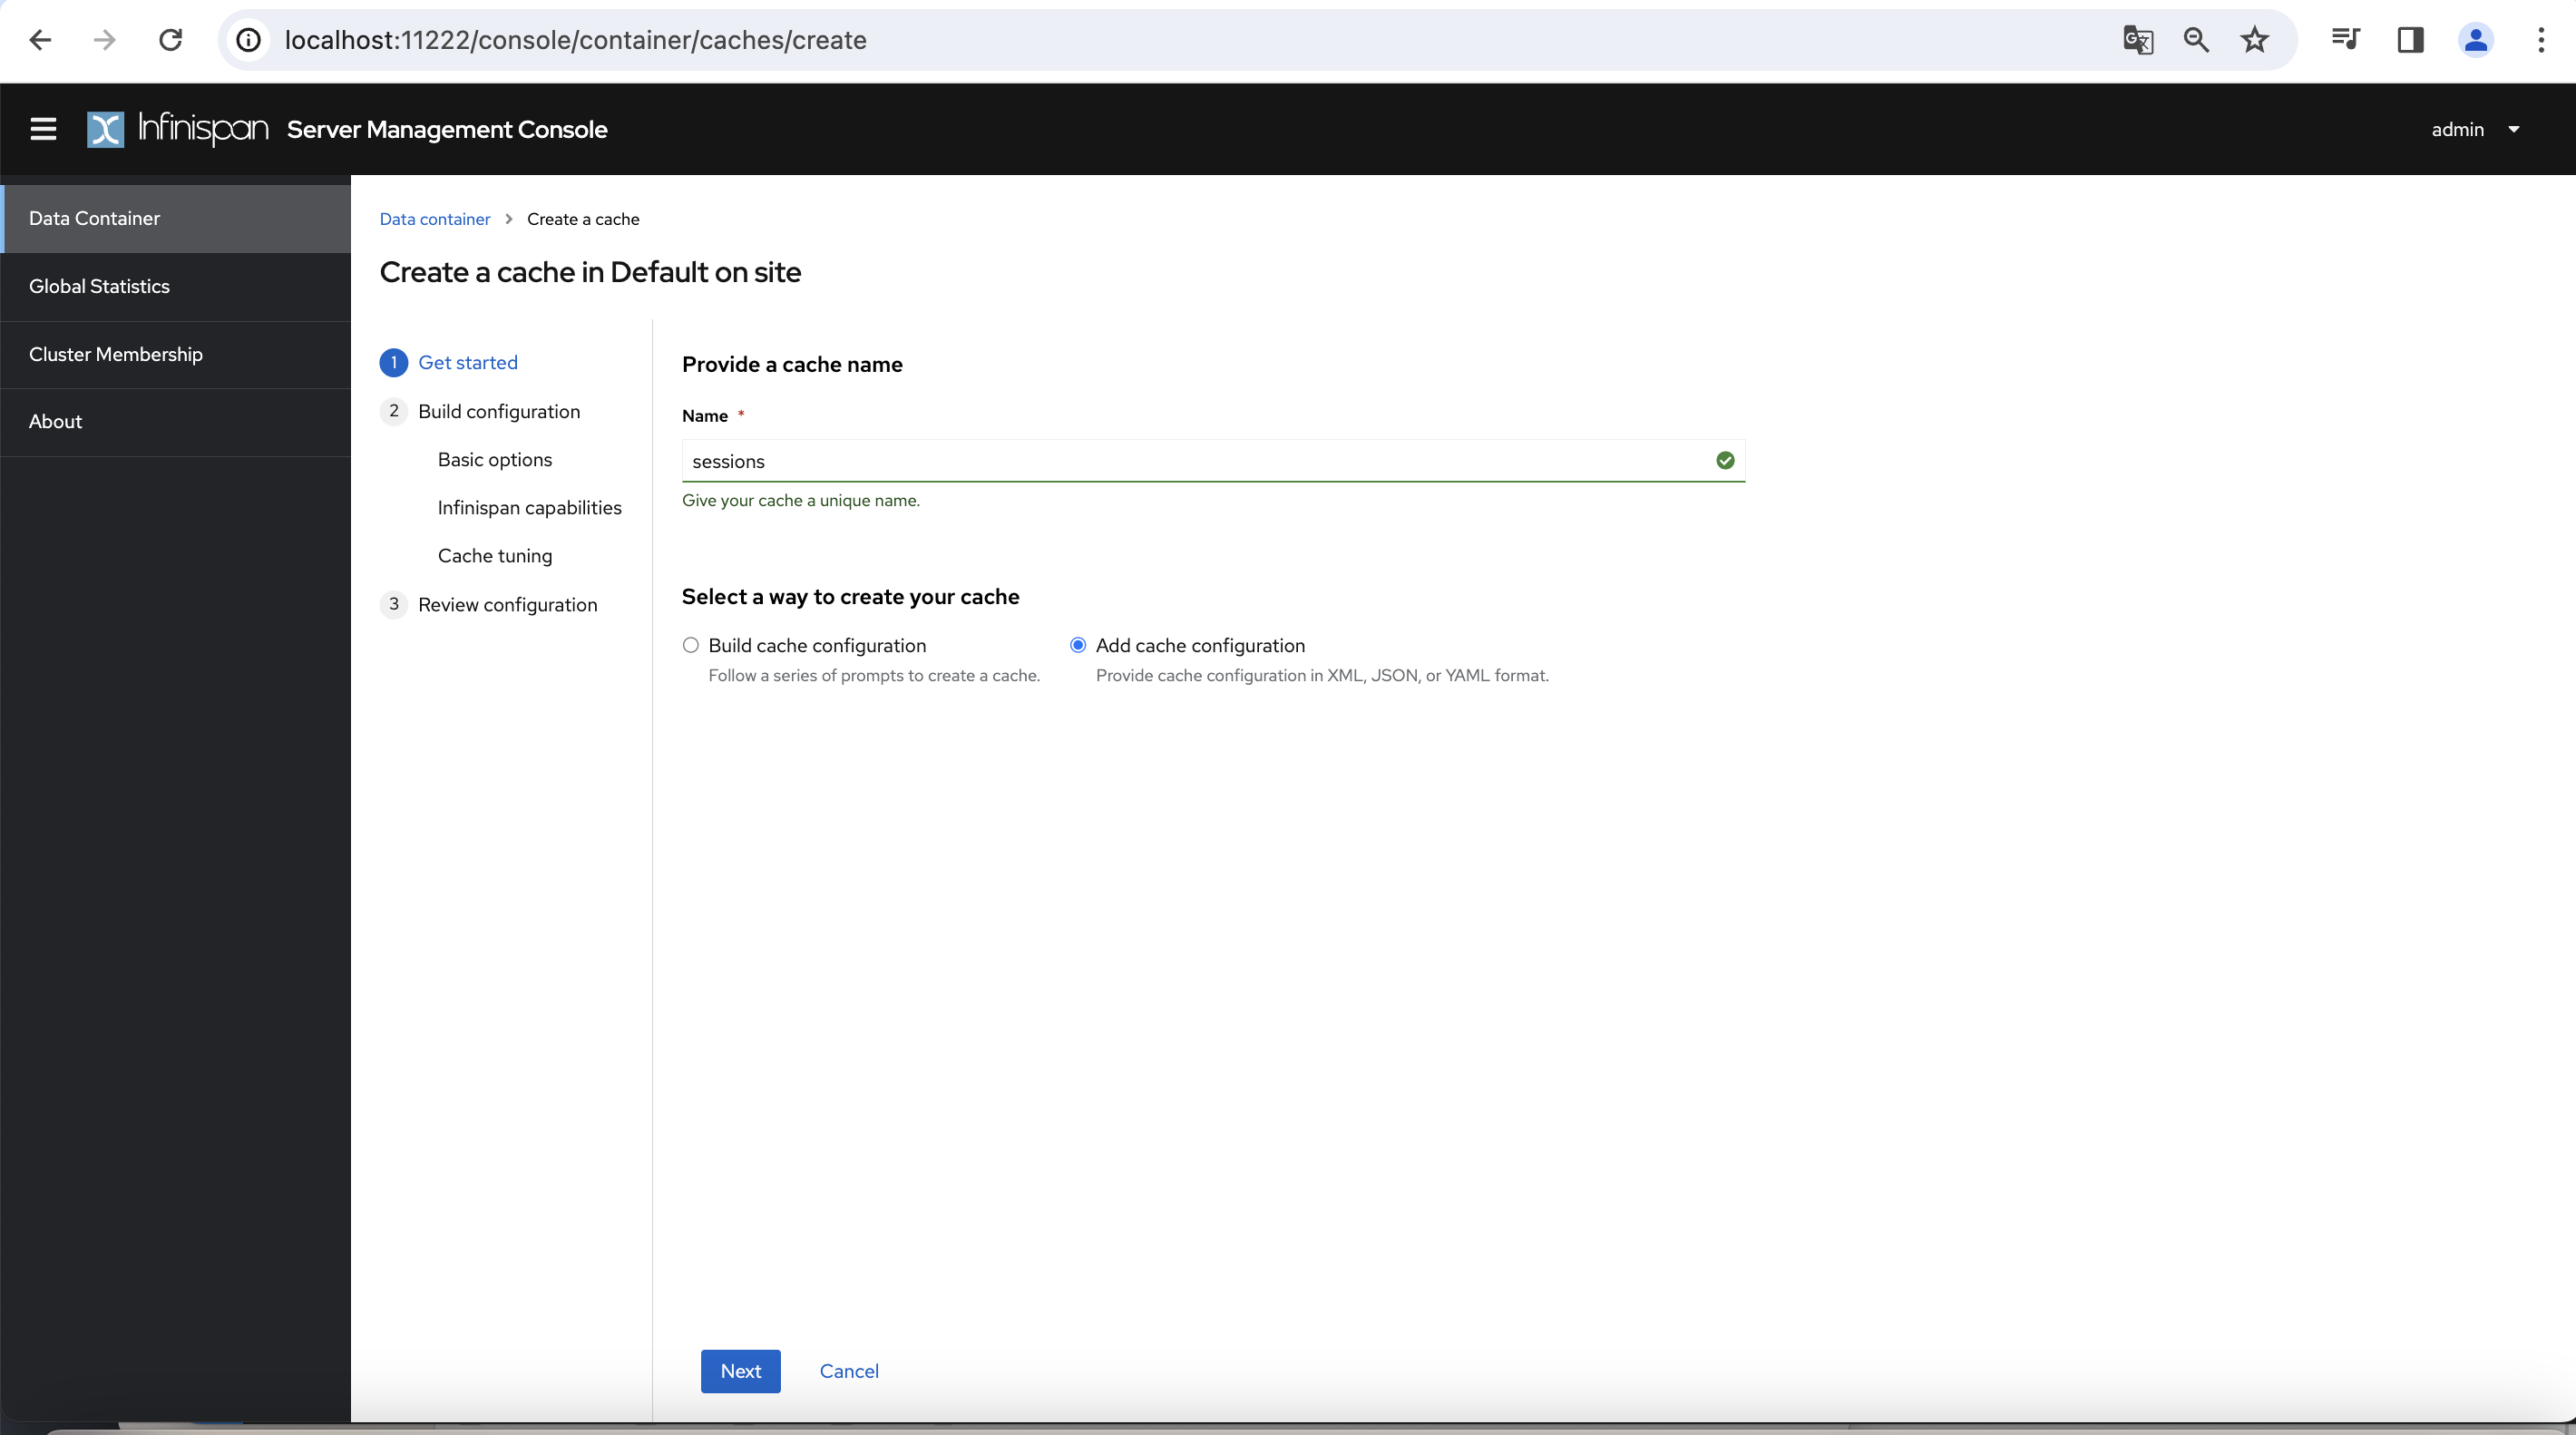
sessionsキャッシュを作成します。
- ログイン後、
Create a cacheボタンを押します。
Nameにsessionsを入力します。Select a way to create your cacheでAdd cache configurationします。Nextボタンを押します。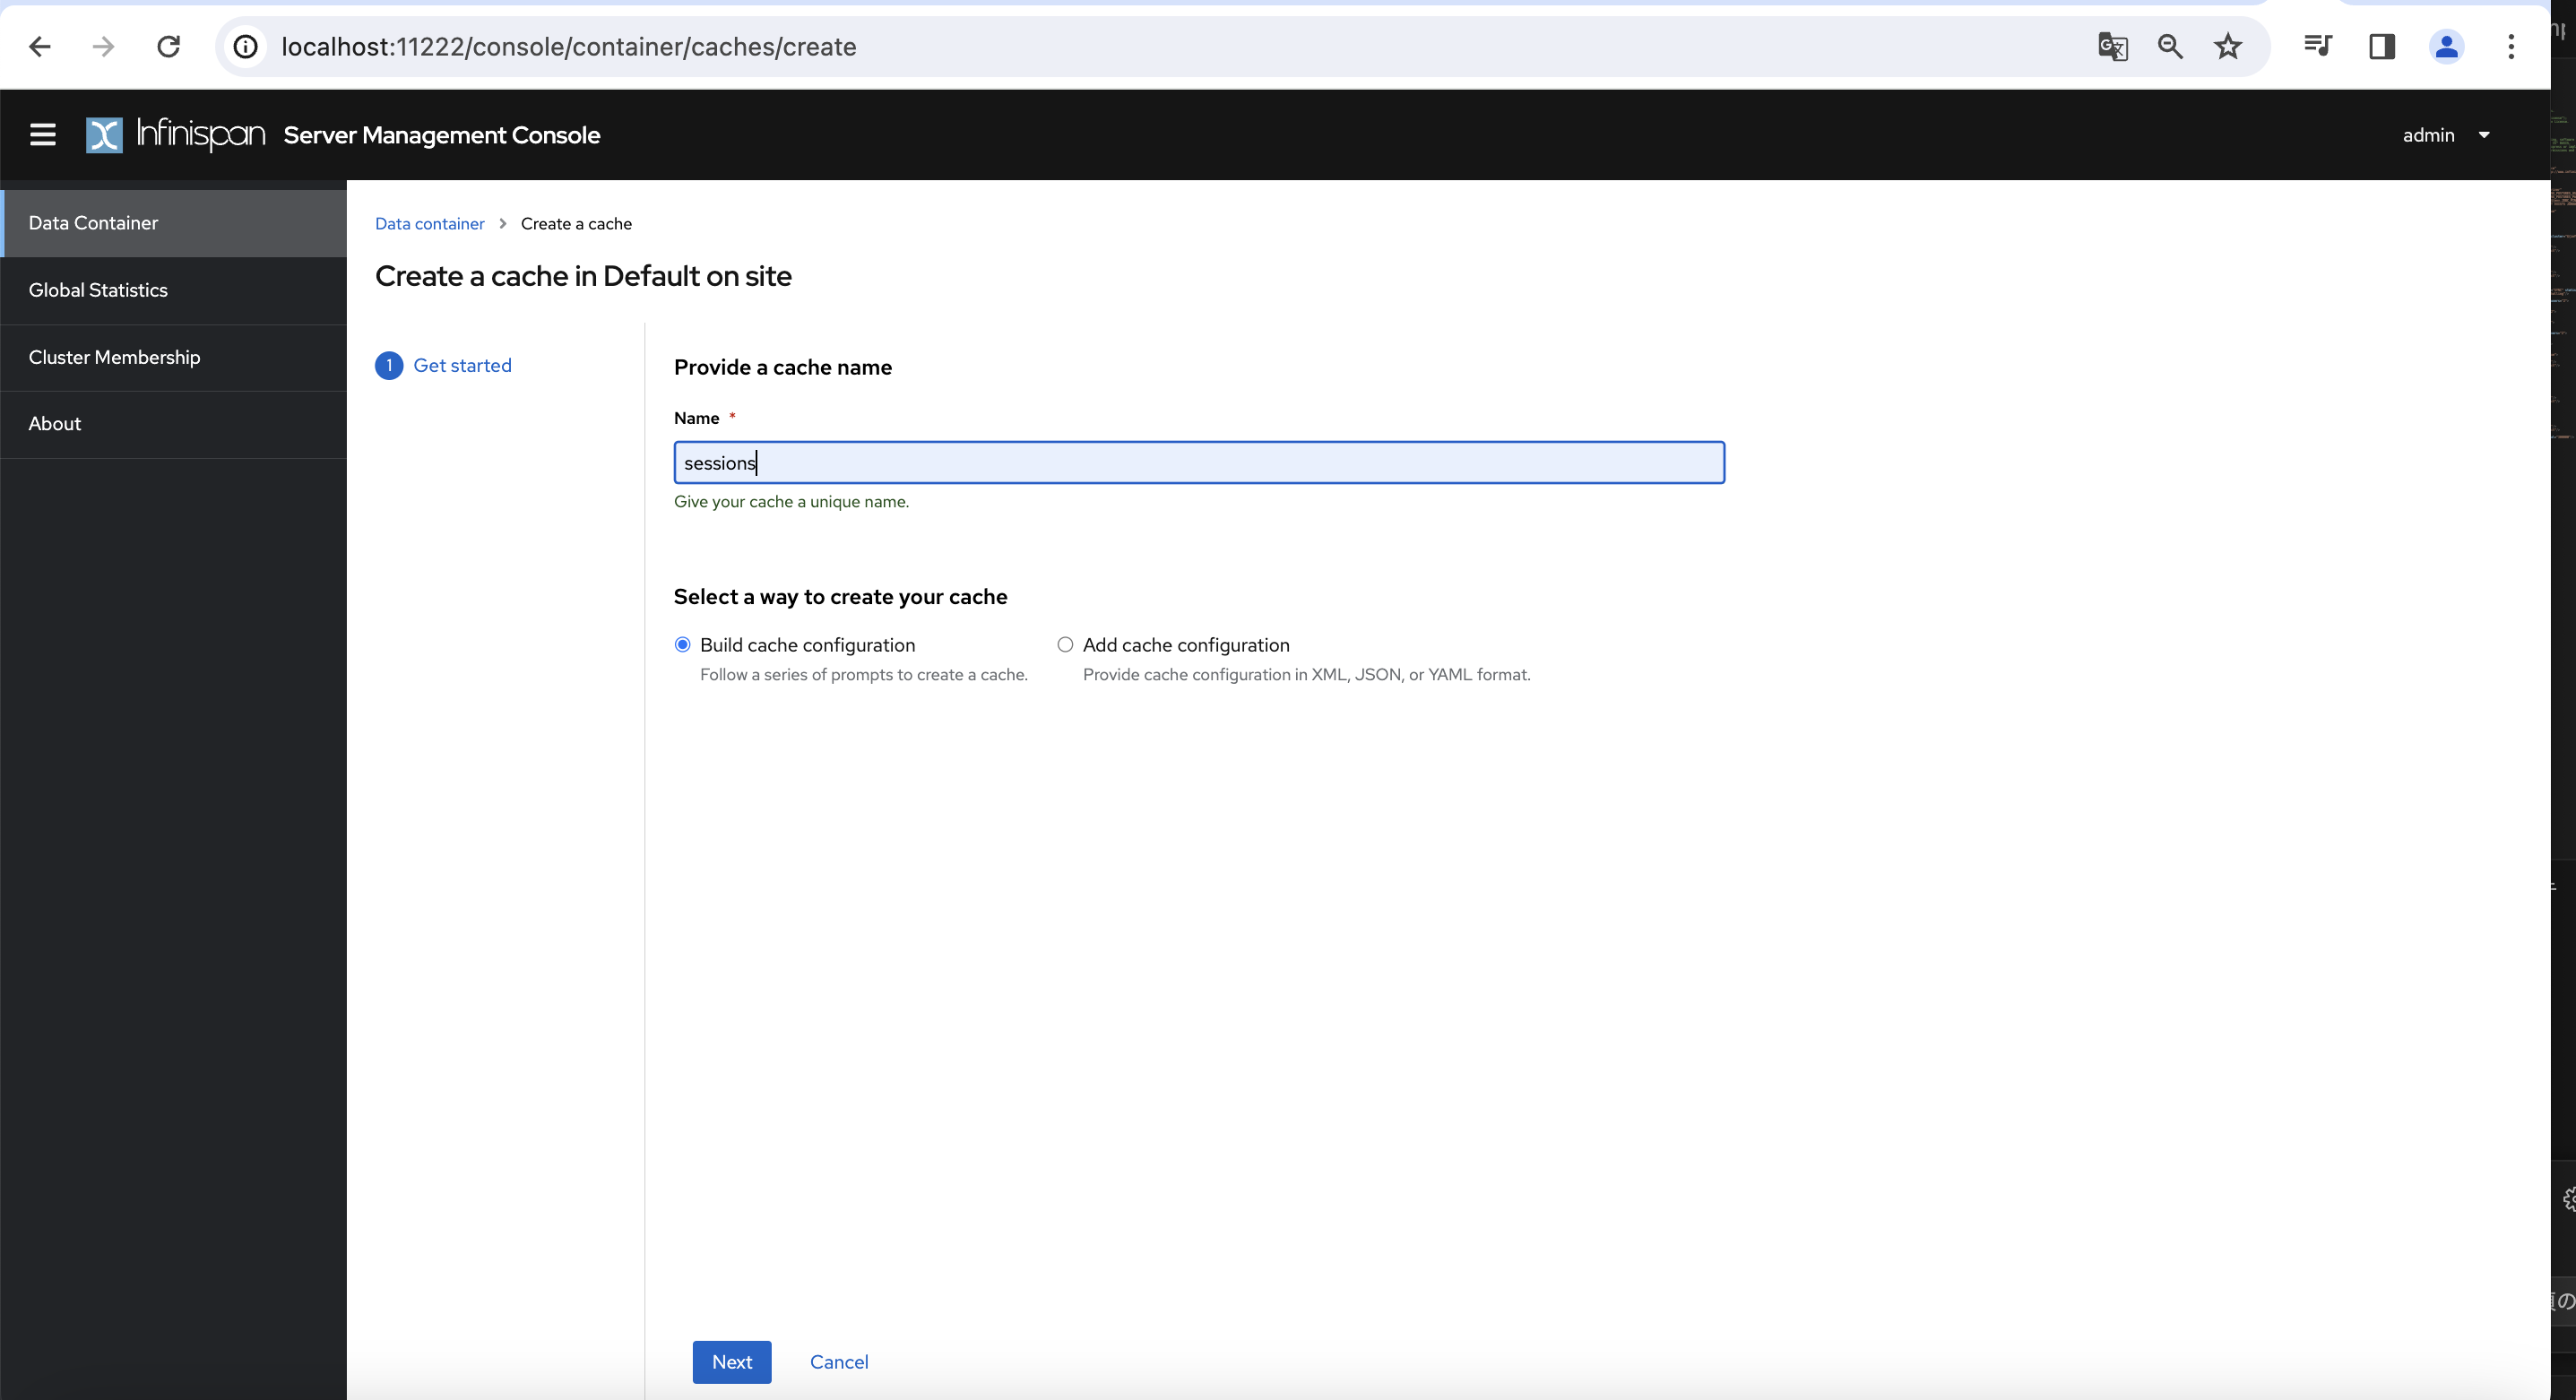
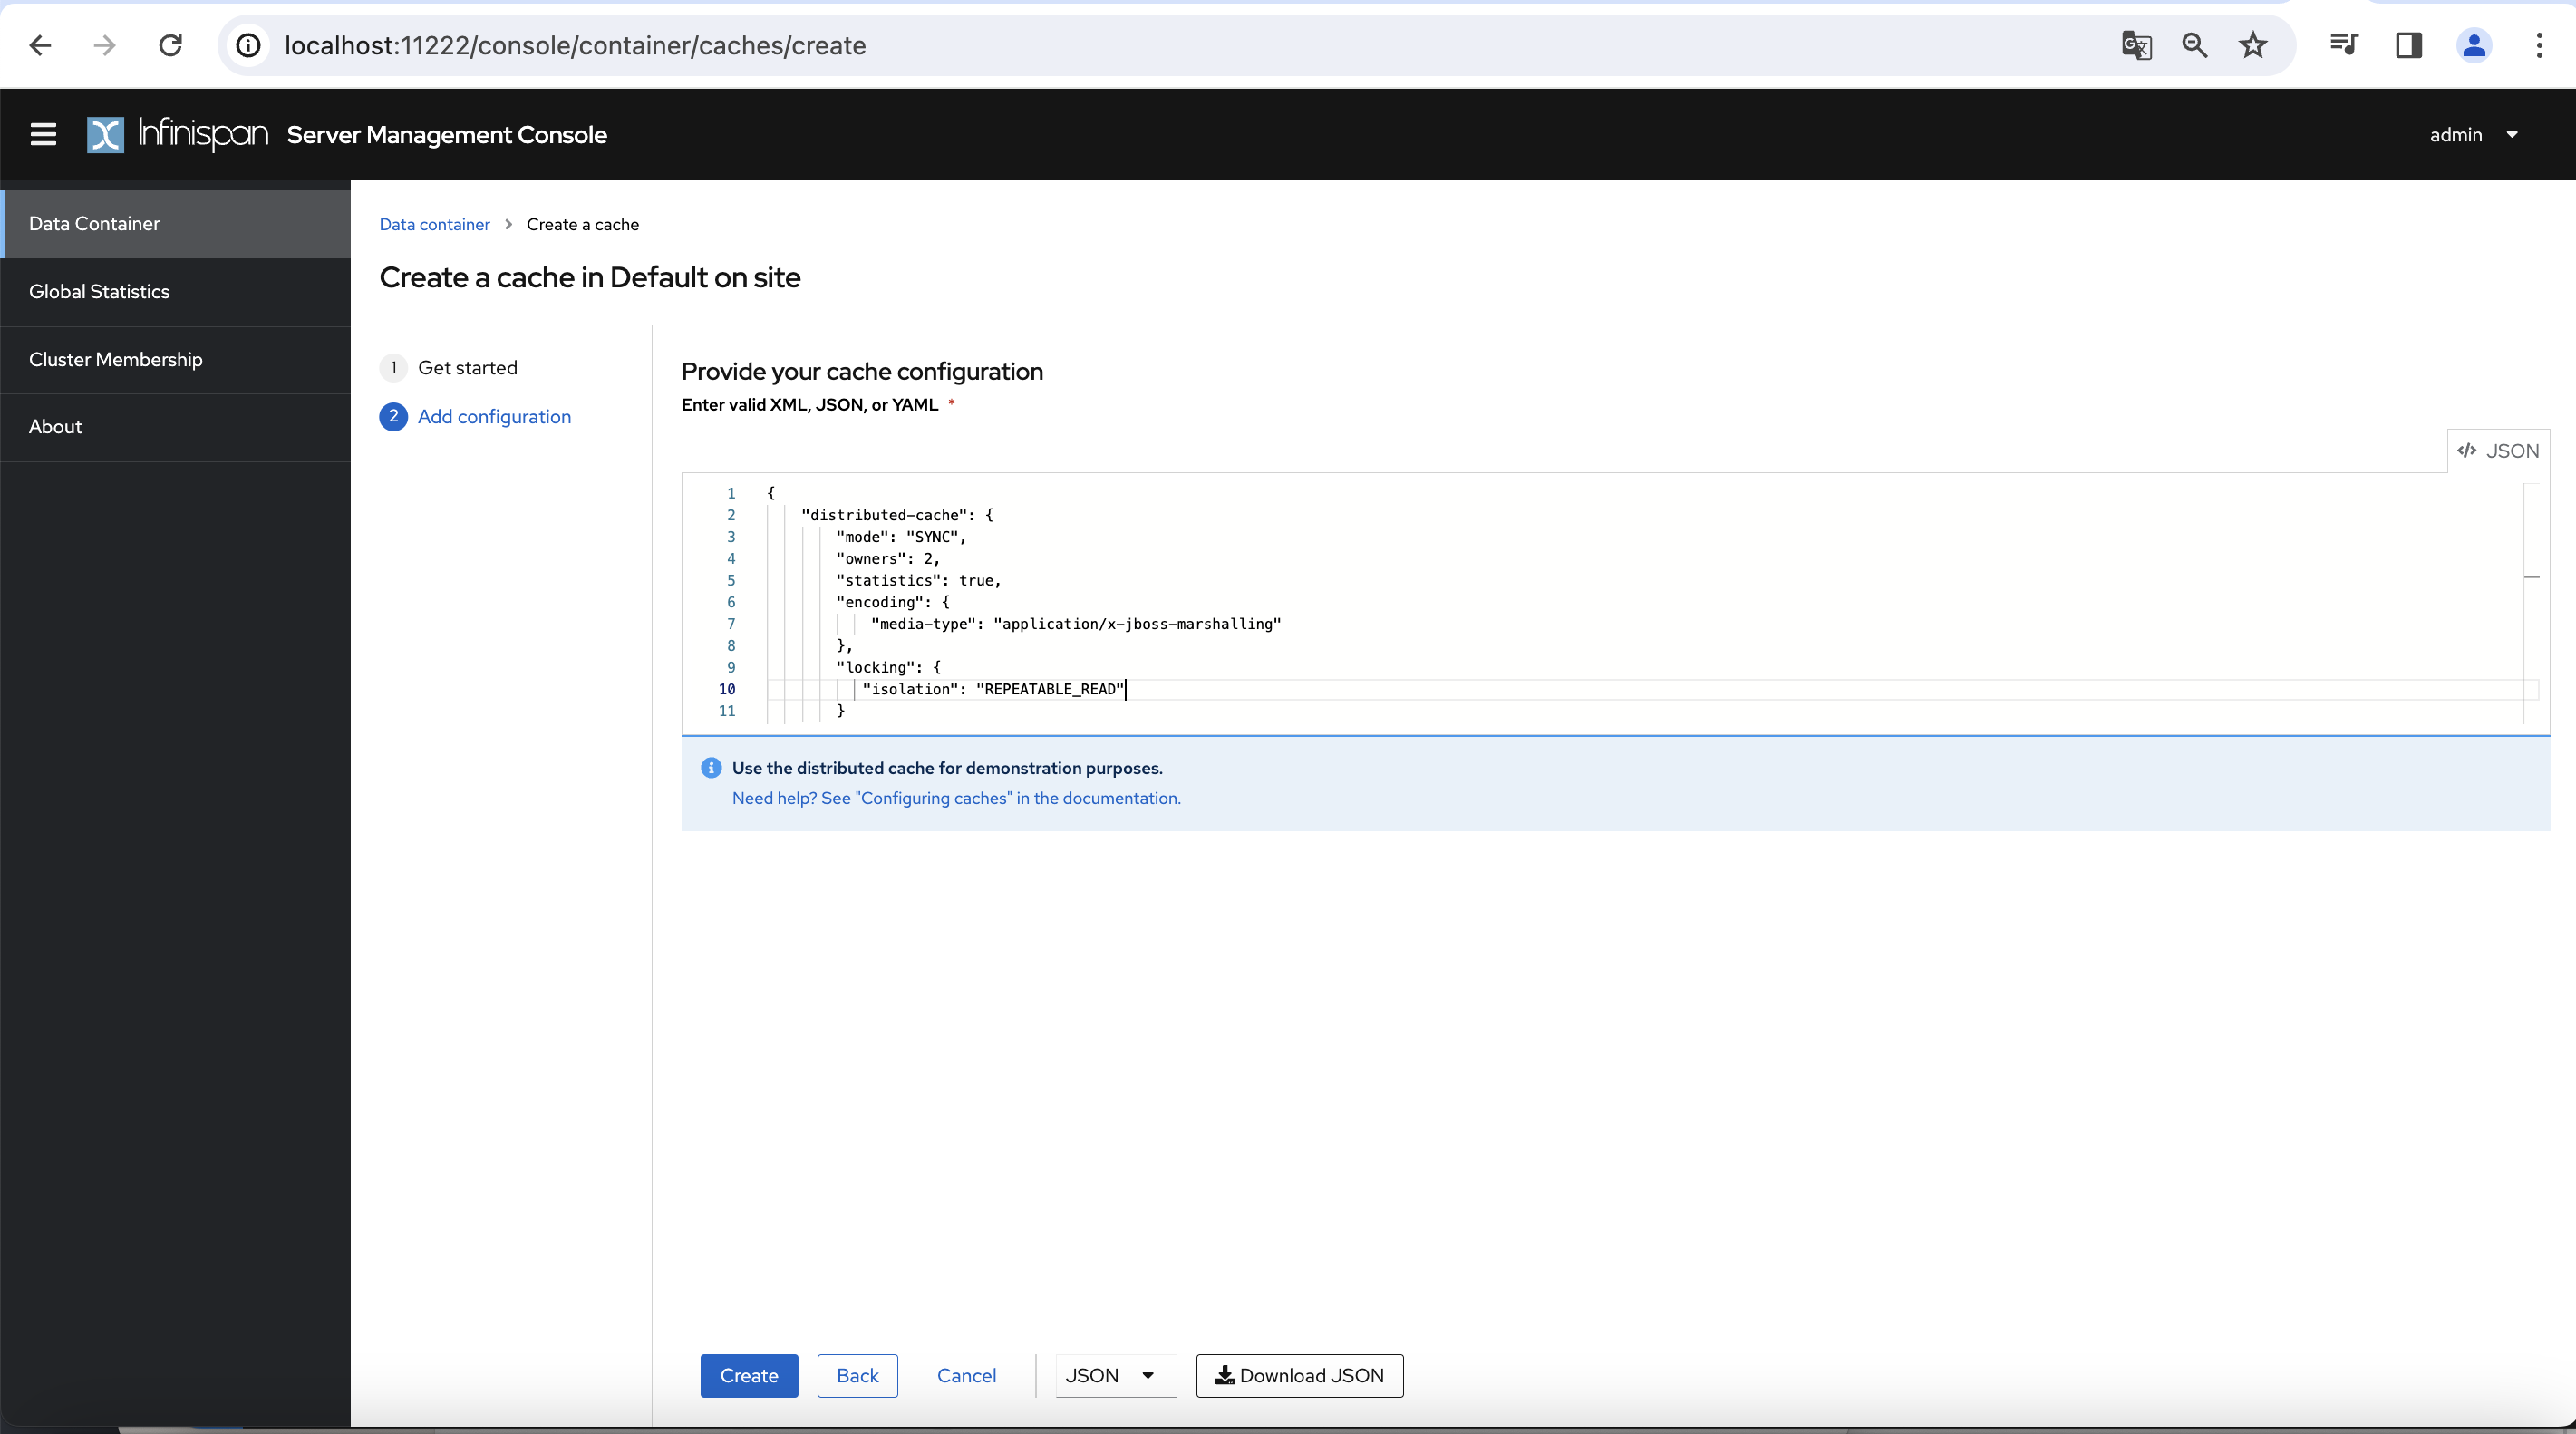
Provide your cache configurationの入力欄に以下を入力します。
{
    "distributed-cache": {
        "mode": "SYNC",
        "owners": 2,
        "statistics": true,
        "encoding": {
            "media-type": "application/x-jboss-marshalling"
        },
        "locking": {
            "isolation": "REPEATABLE_READ"
        }
    }
}
入力できたら
Cleateボタンを押します。
キャッシュが作成できたら設定完了です。
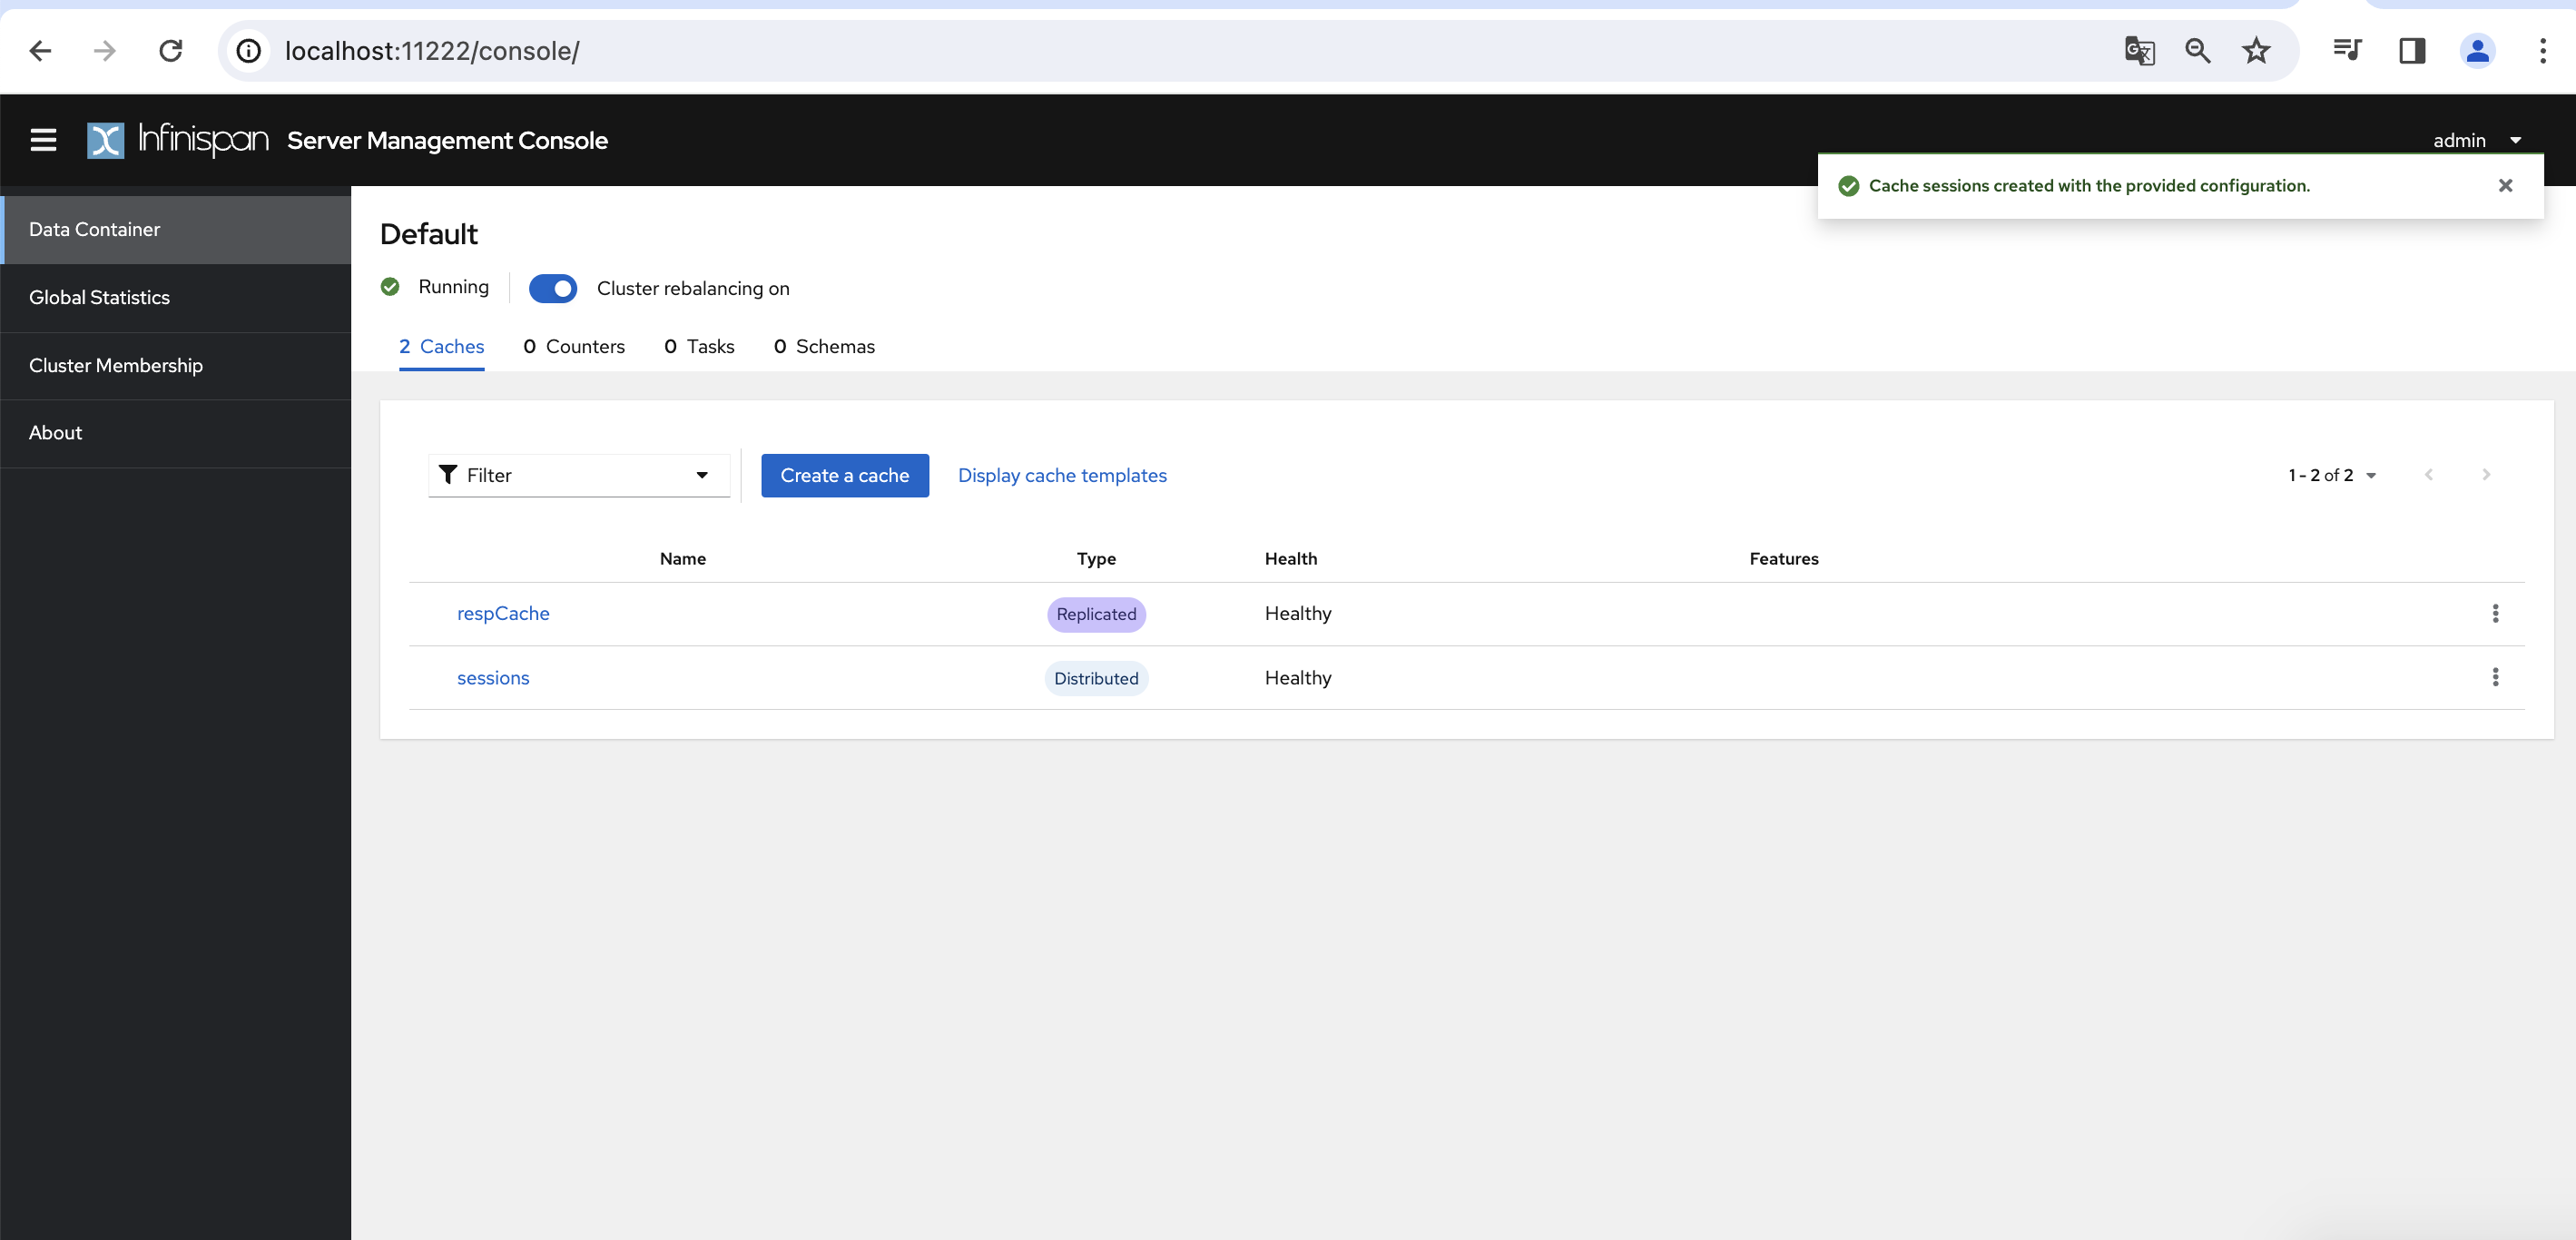
- ログイン後、
動作確認:
KeycloakのsessionsキャッシュがInfinispanサーバ側に保持されるか確認をします。
設定ができている場合、KeycloakにログインするとInfinispan側にキャッシュが生成され、
ログアウトするとInfinispanサーバ側のキャッシュが削除されると思います。
そのため、その動作を確認します。
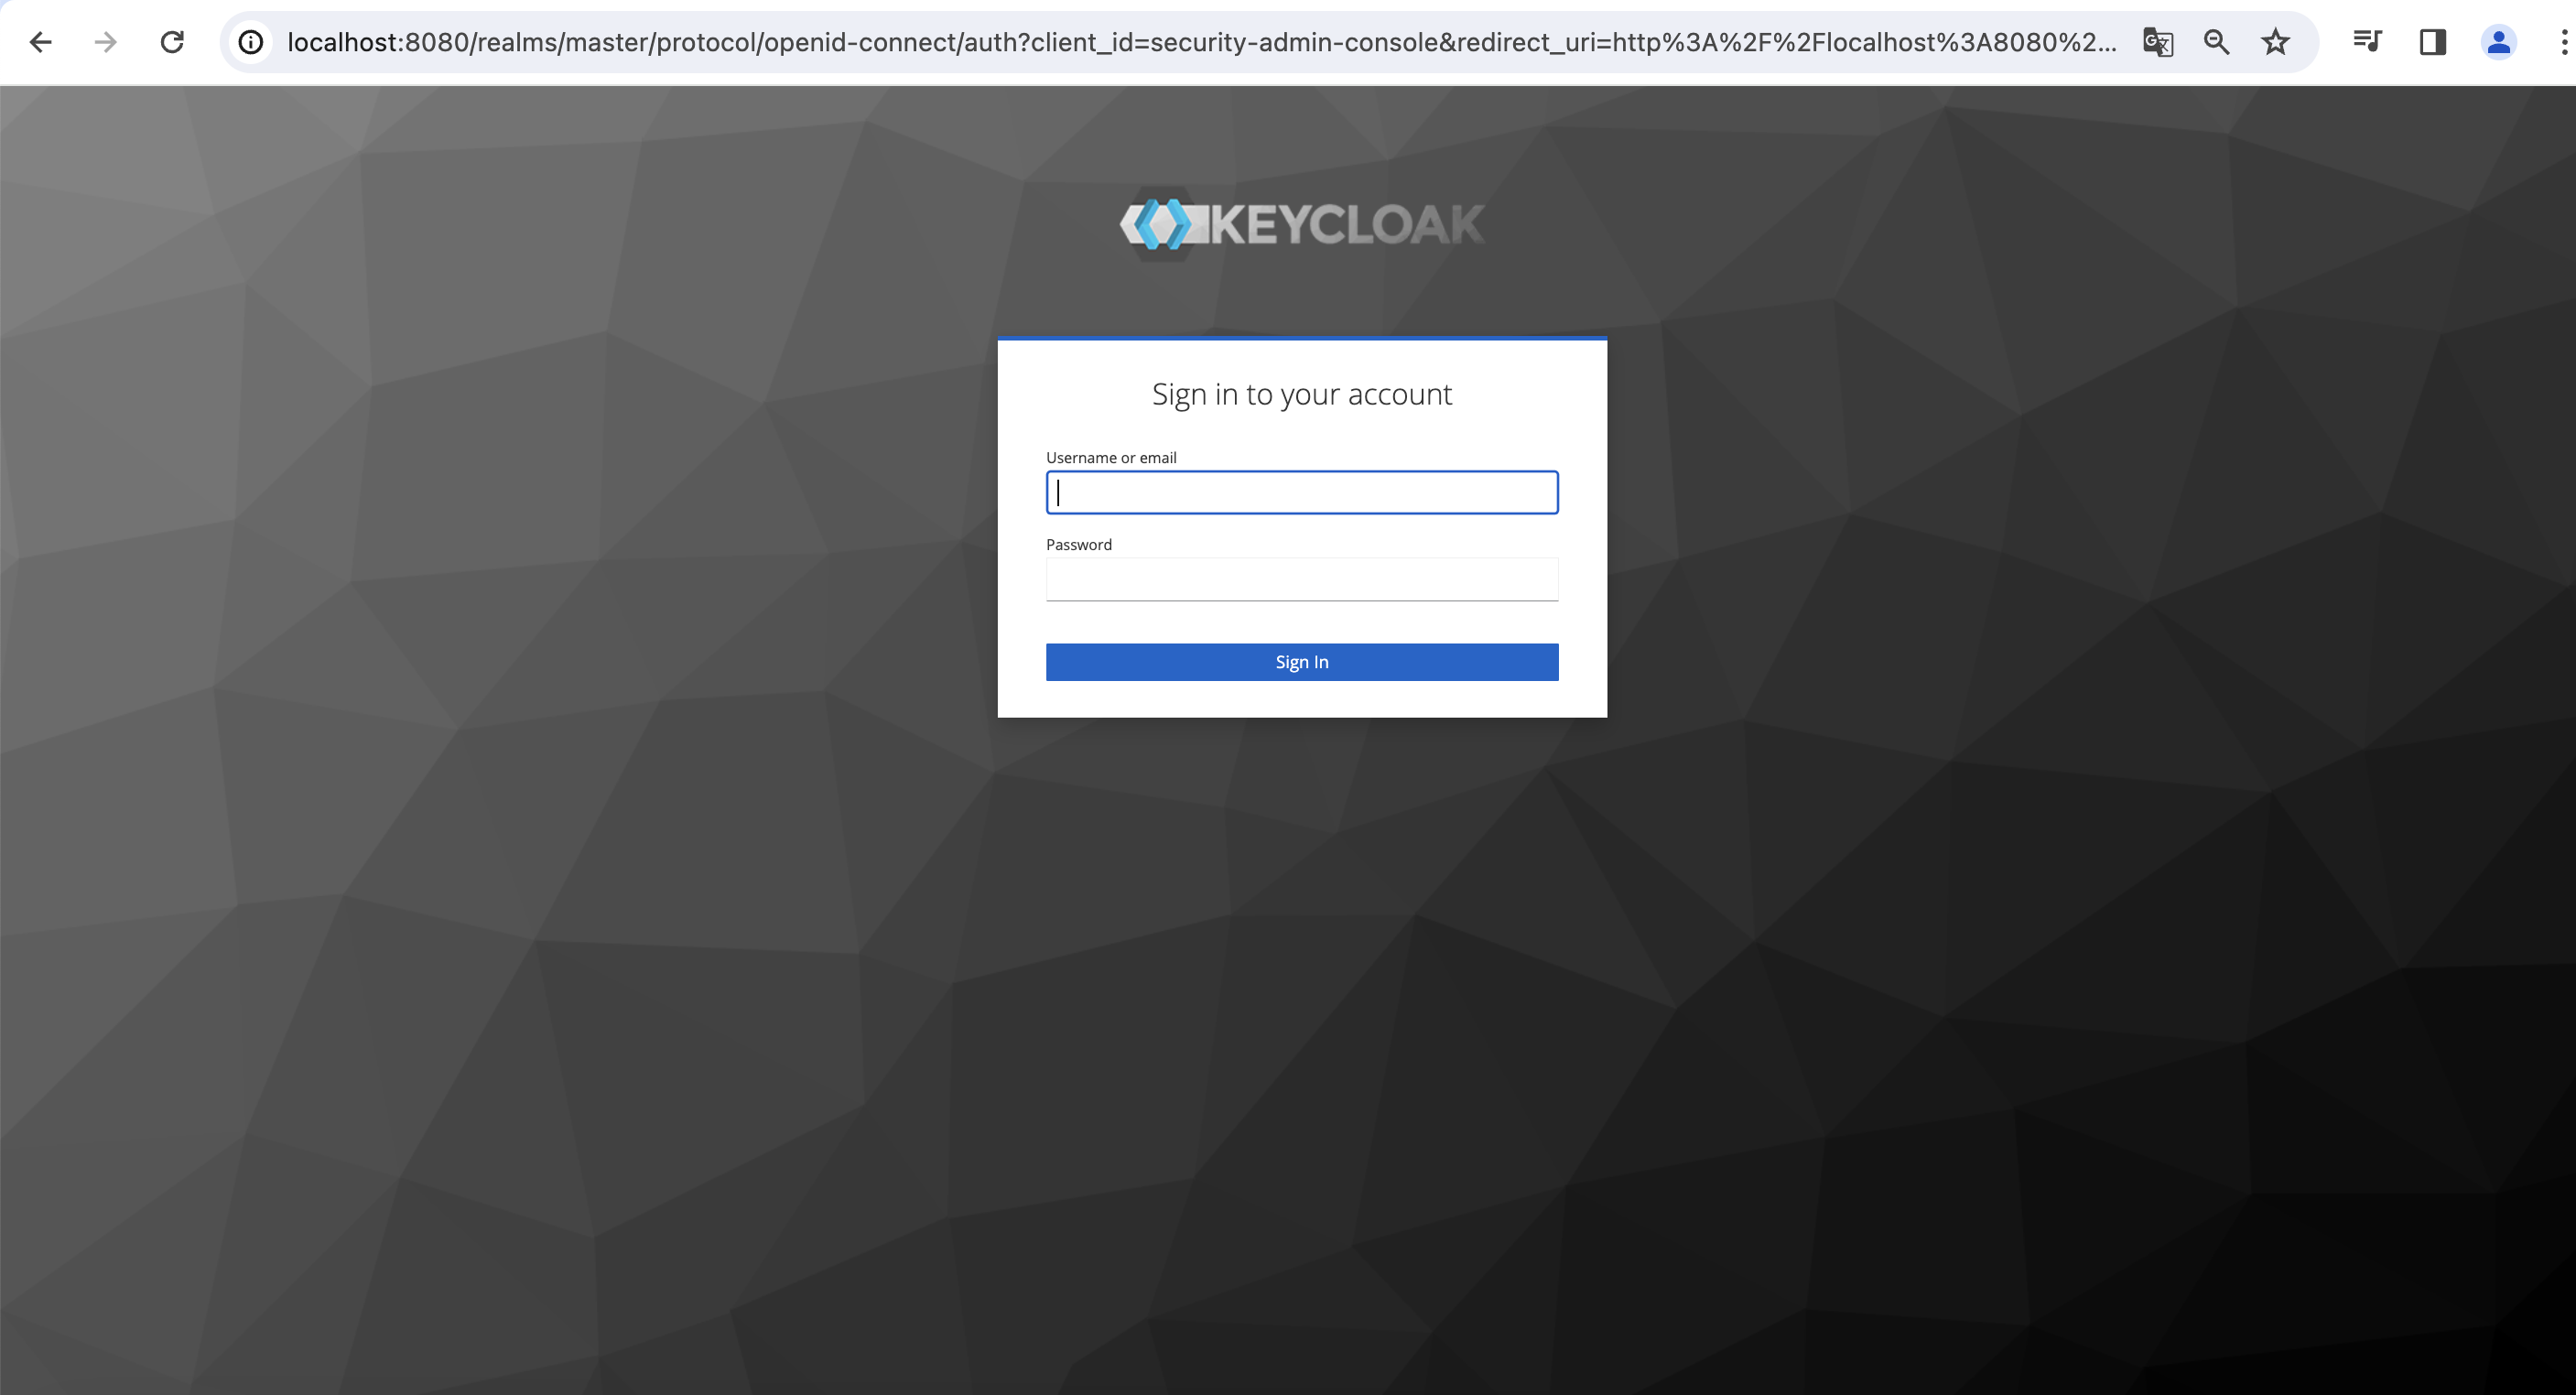
Keycloakにログインします。
- ブラウザで以下にアクセスします。
http://localhost:8080/ Administration Consoleを押して管理コンソールにログインします。
IDとパスワードは以下に設定されています。- ユーザID:admin
- パスワード:password

- ブラウザで以下にアクセスします。
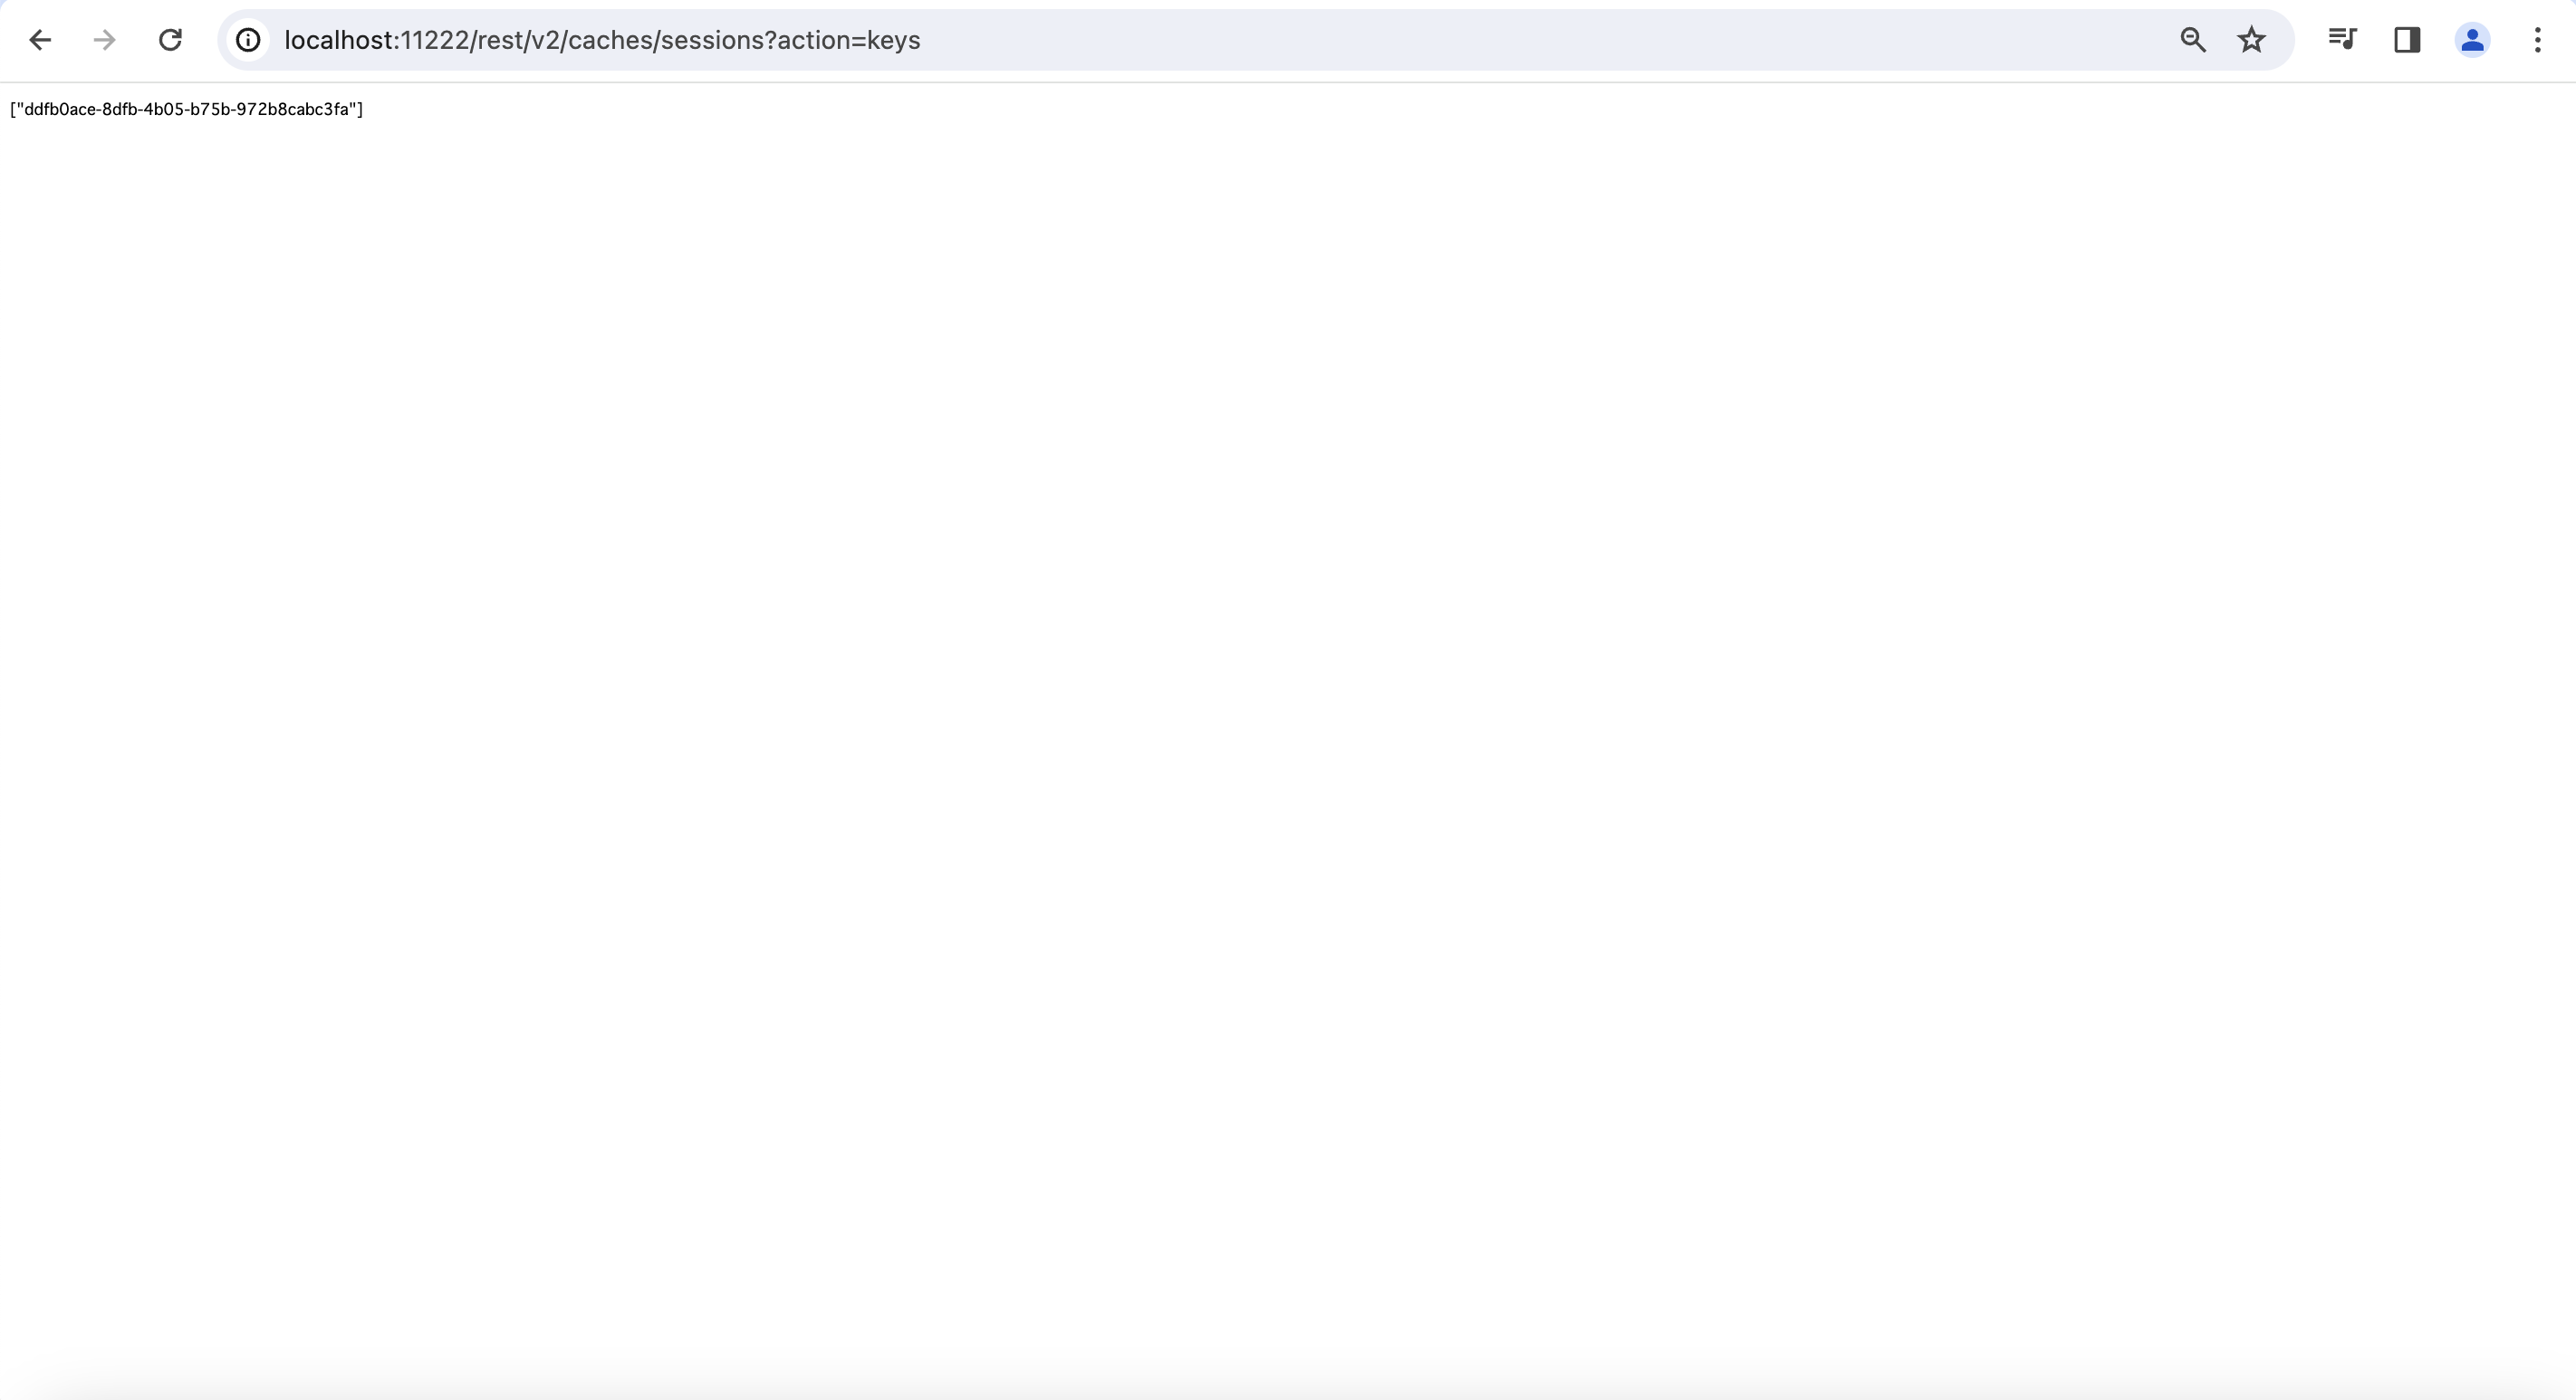
InfinispanサーバのキャッシュをREST APIで確認します。
ブラウザで以下にアクセスします。http://localhost:11222/rest/v2/caches/sessions?action=keys
Keycloakにログインしてsessionsキャッシュ作成されたので、画像のように値が入ると思います。
Keycloakからログアウトします。
Sign outを押します。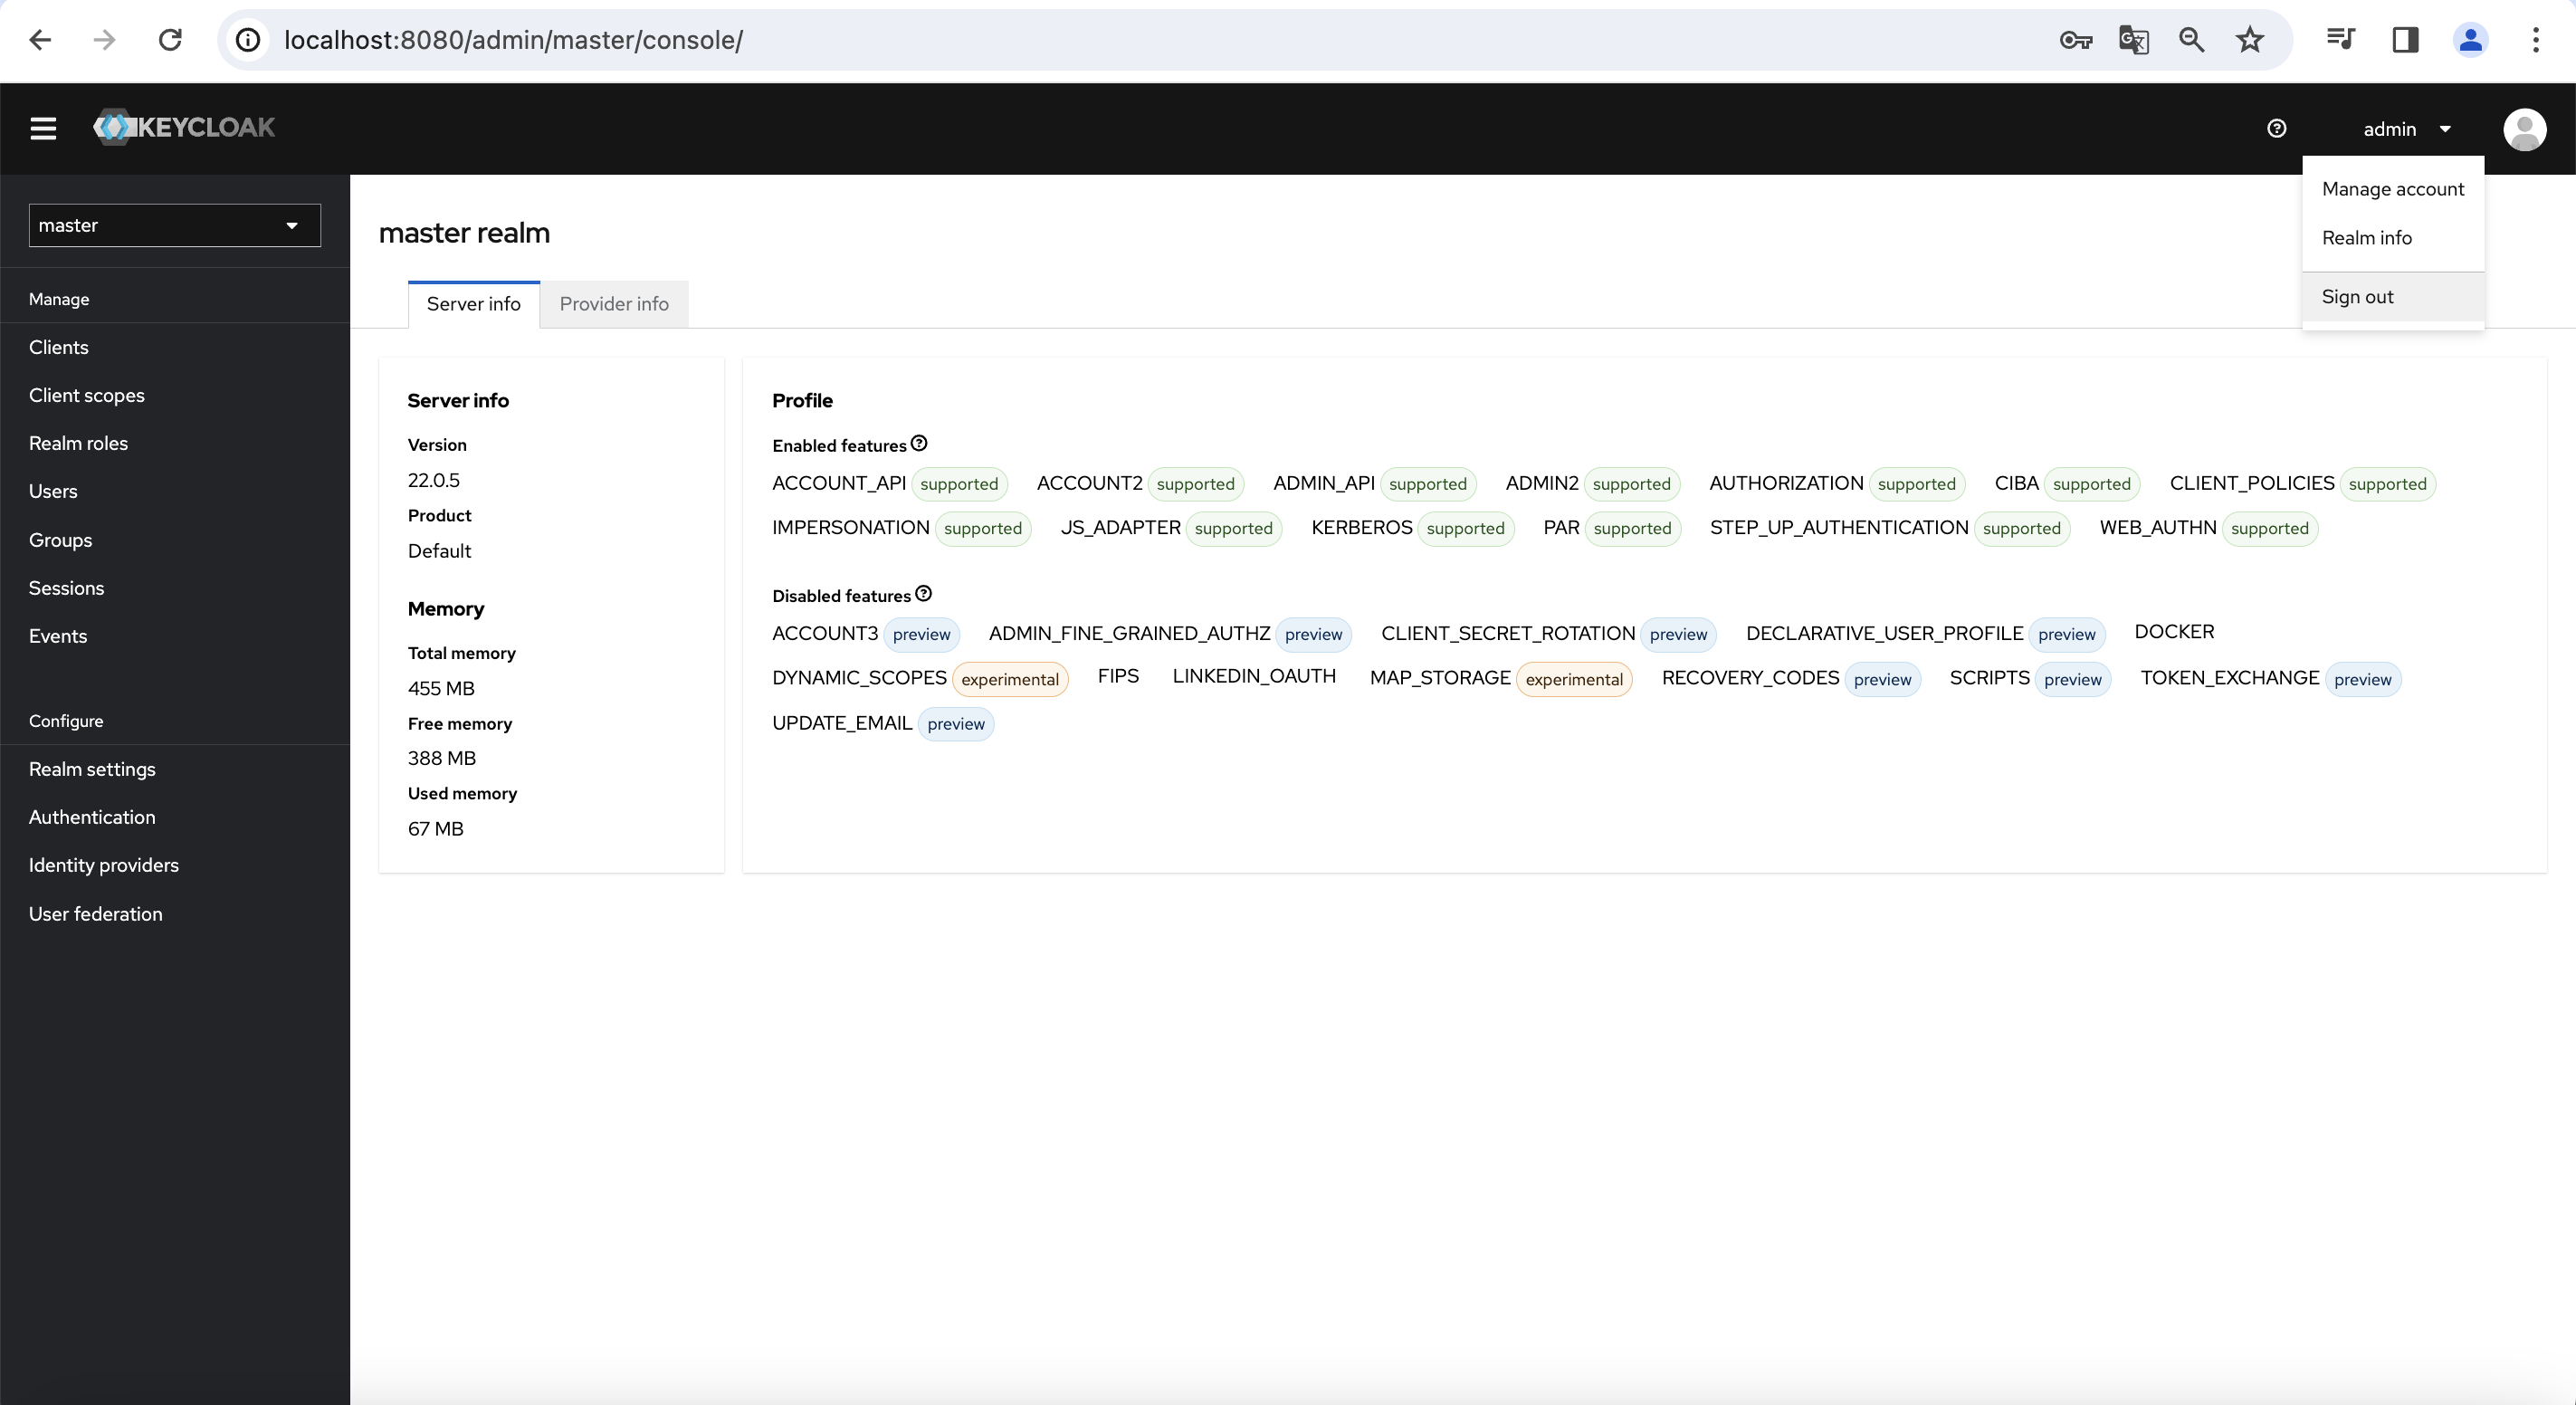
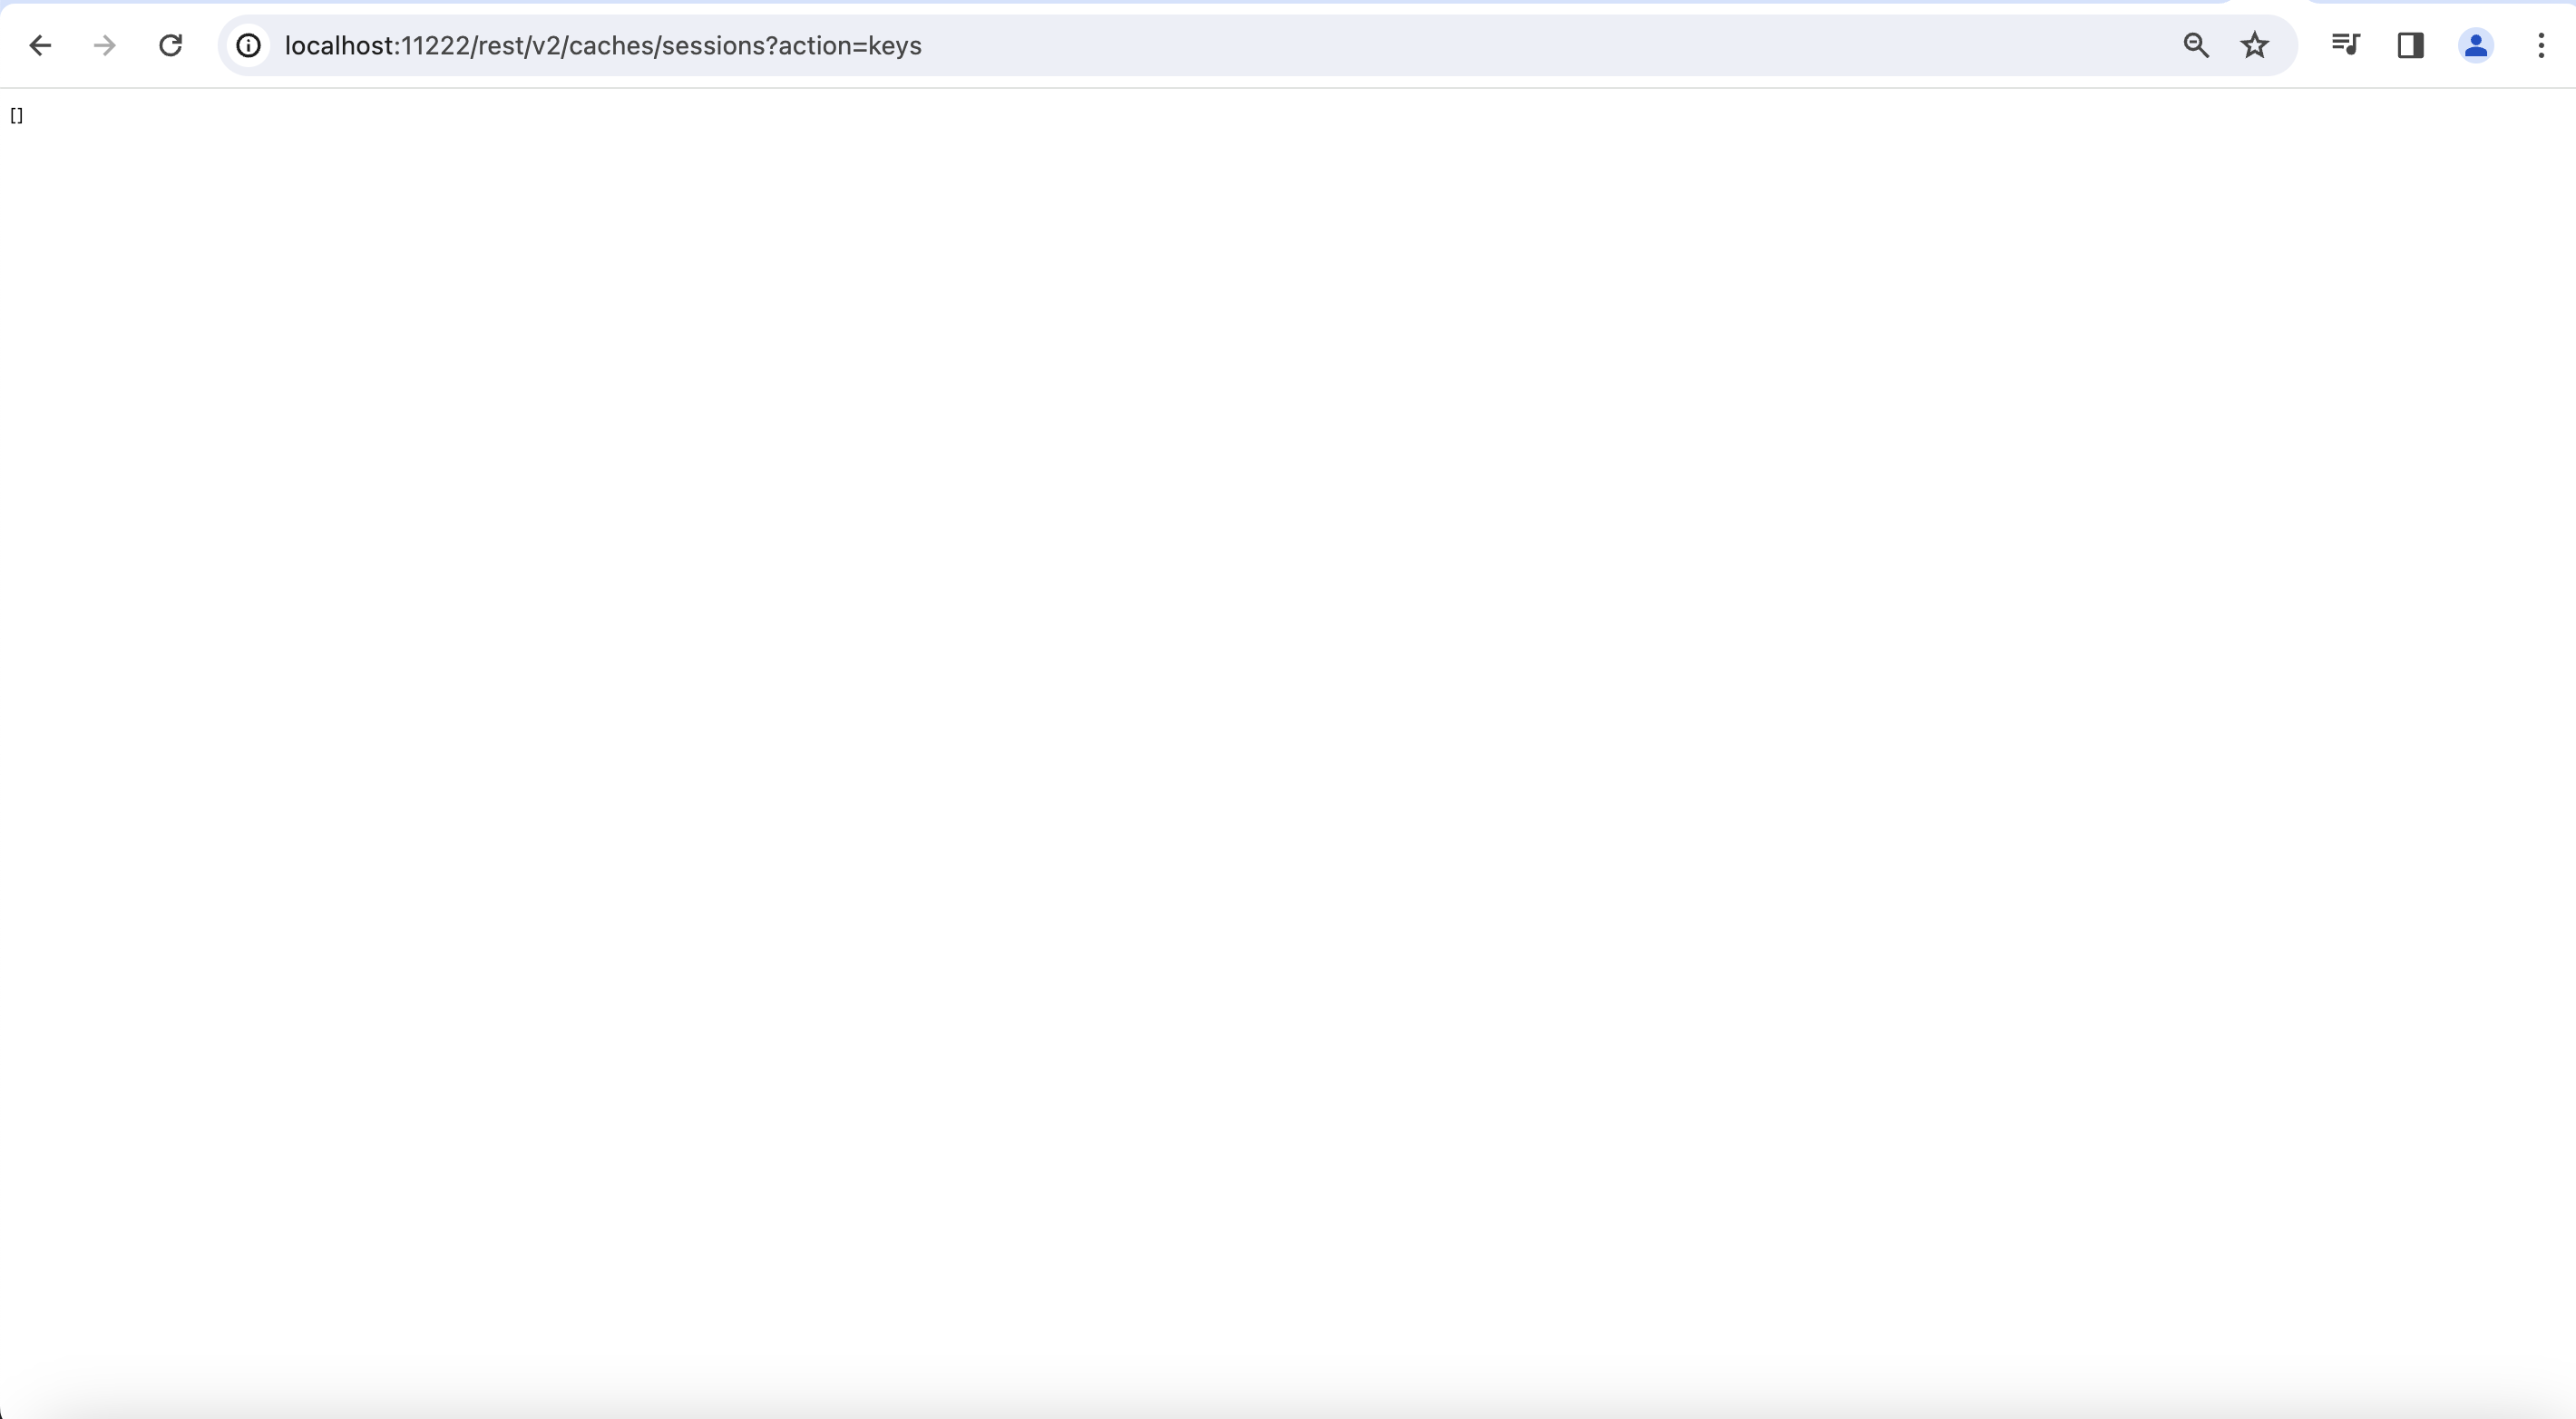
もう一度InfinispanサーバのキャッシュをREST APIで確認します。
ブラウザで以下にアクセスします。http://localhost:11222/rest/v2/caches/sessions?action=keys
Keycloakからログアウト後に、画像のように値が無くなると思います。
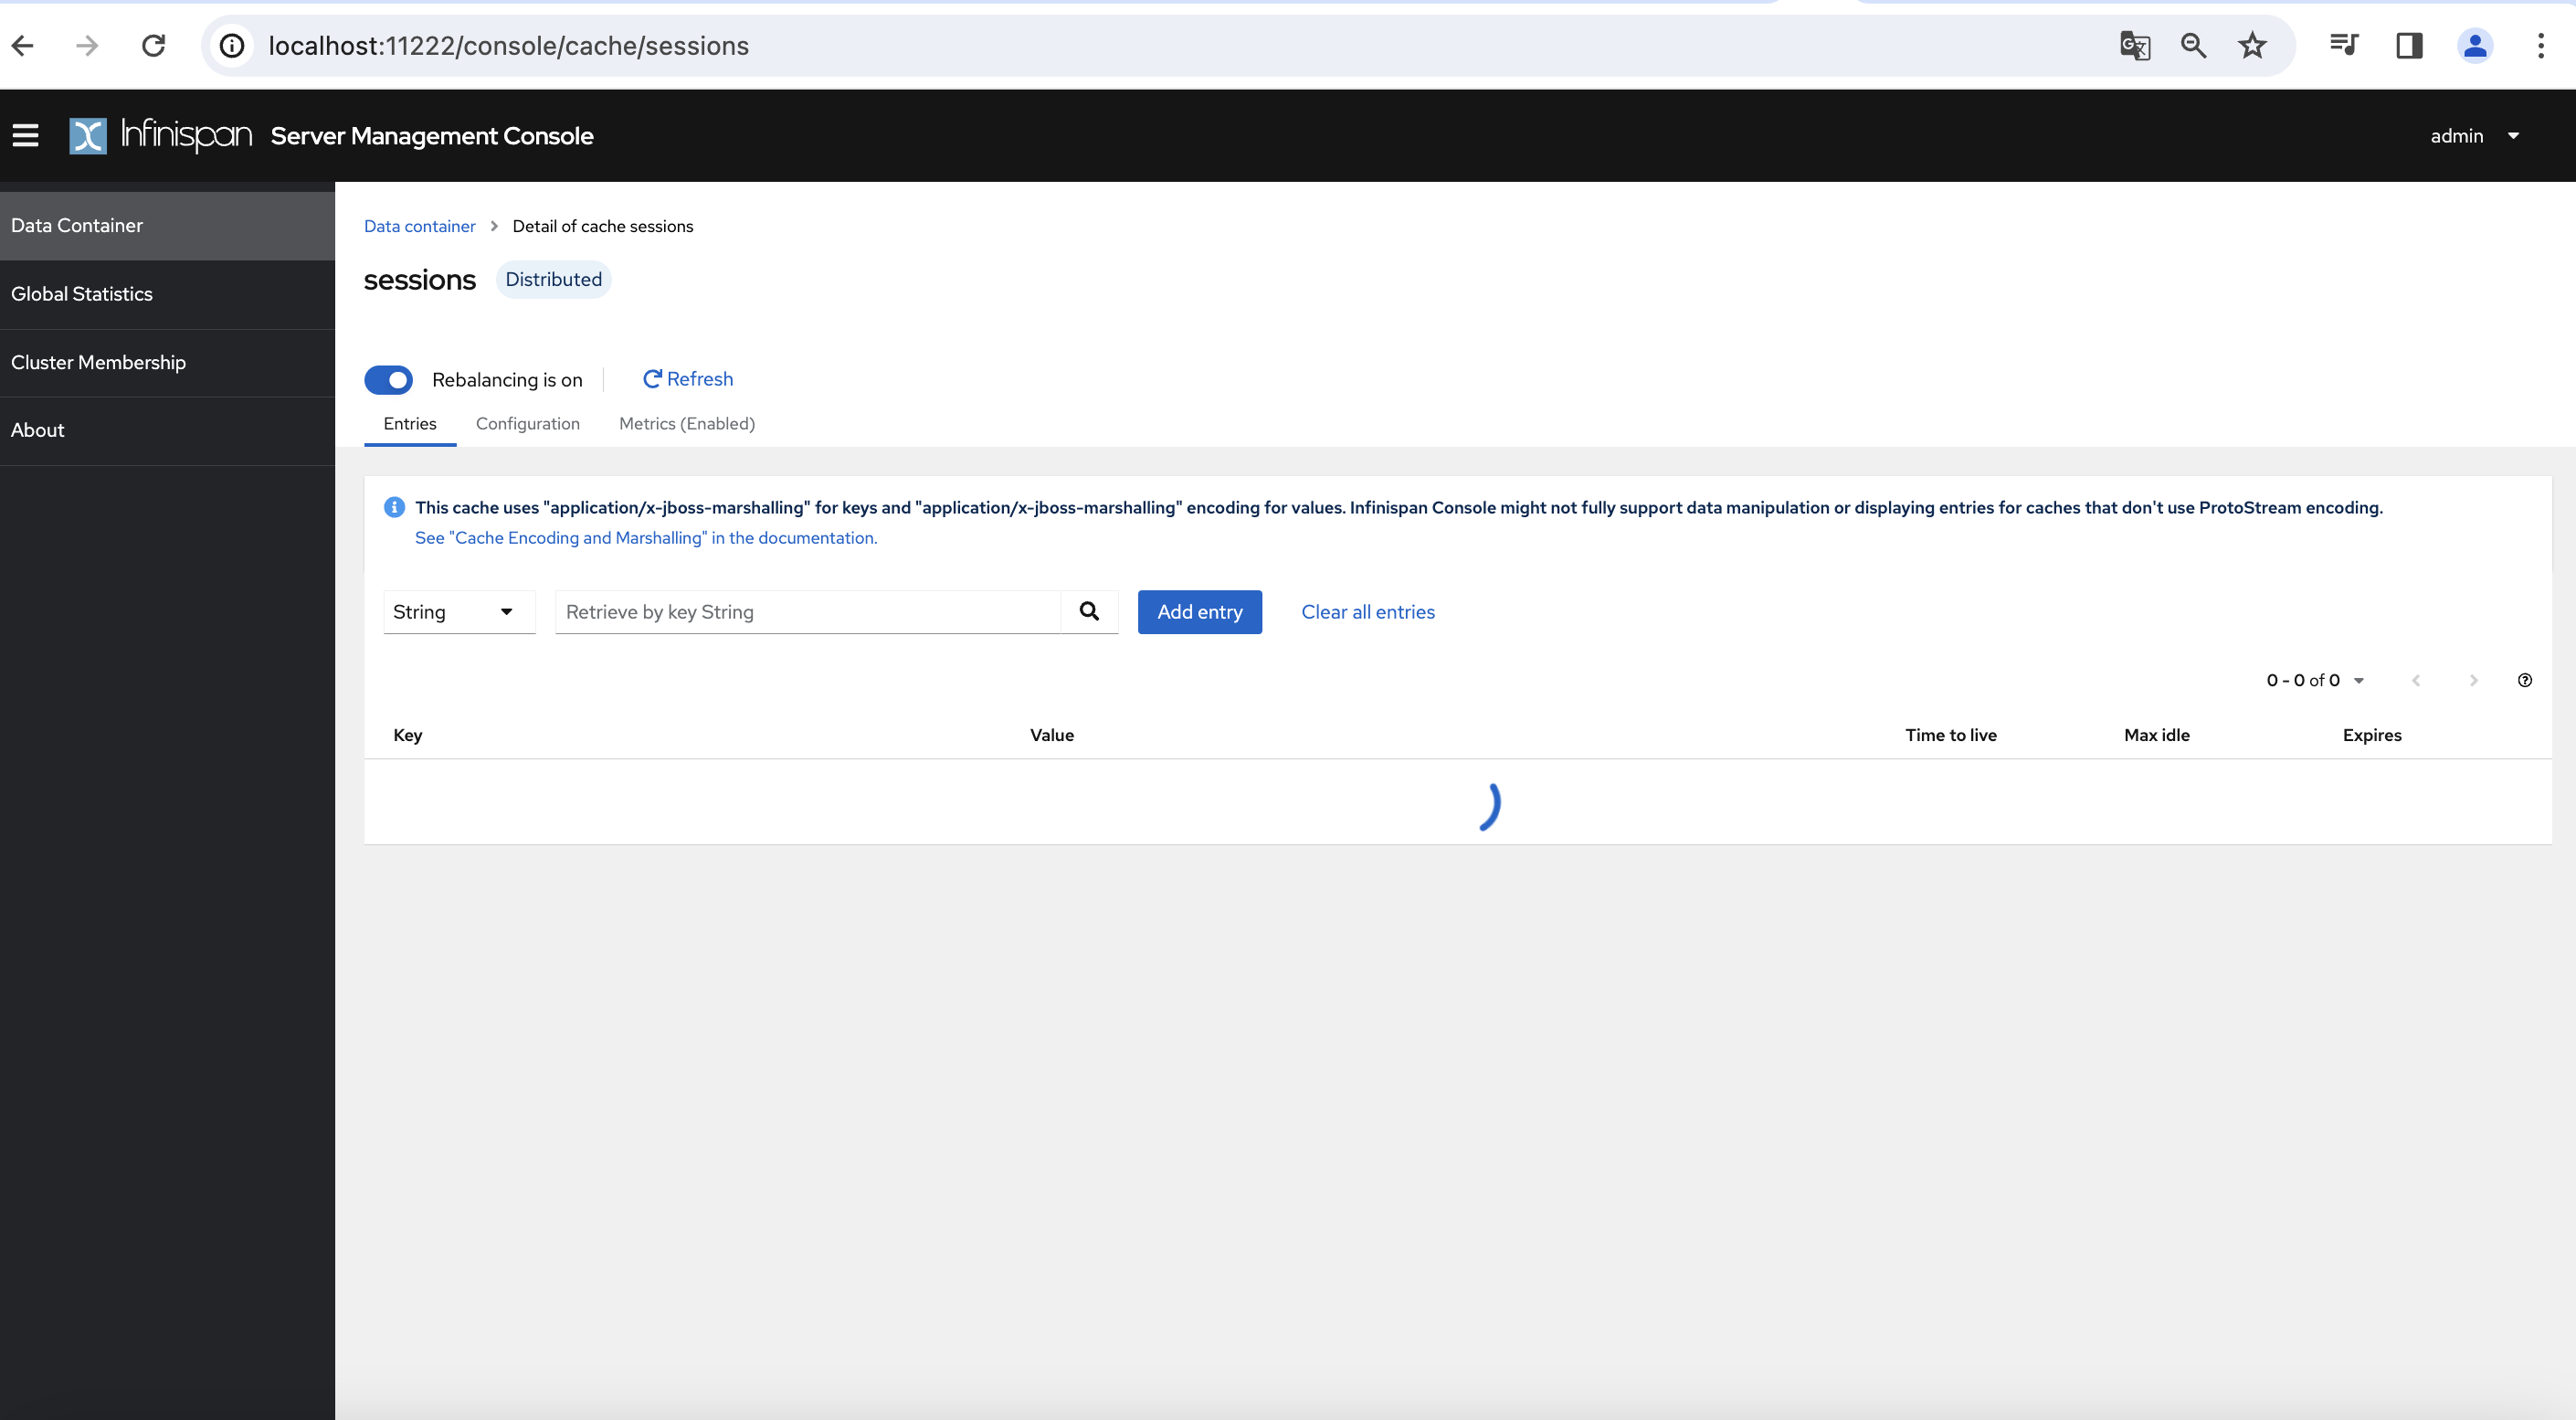
ただし今回の設定ではsessionsキャッシュが作成された後に、
Infinispanサーバのsessionsキャッシュの詳細画面を開くと、
画像のように読み込み中になります。
まとめ:
Keycloakのsessionsキャッシュをリモートストアに設定する方法を紹介しました。
設定するには、キャッシュの設定を変更する必要があります。
今回設定したsessionsキャッシュ以外にも同じような手順でリモートストアに設定することができます。
参考:
- 閲覧数 1145


コメントを追加